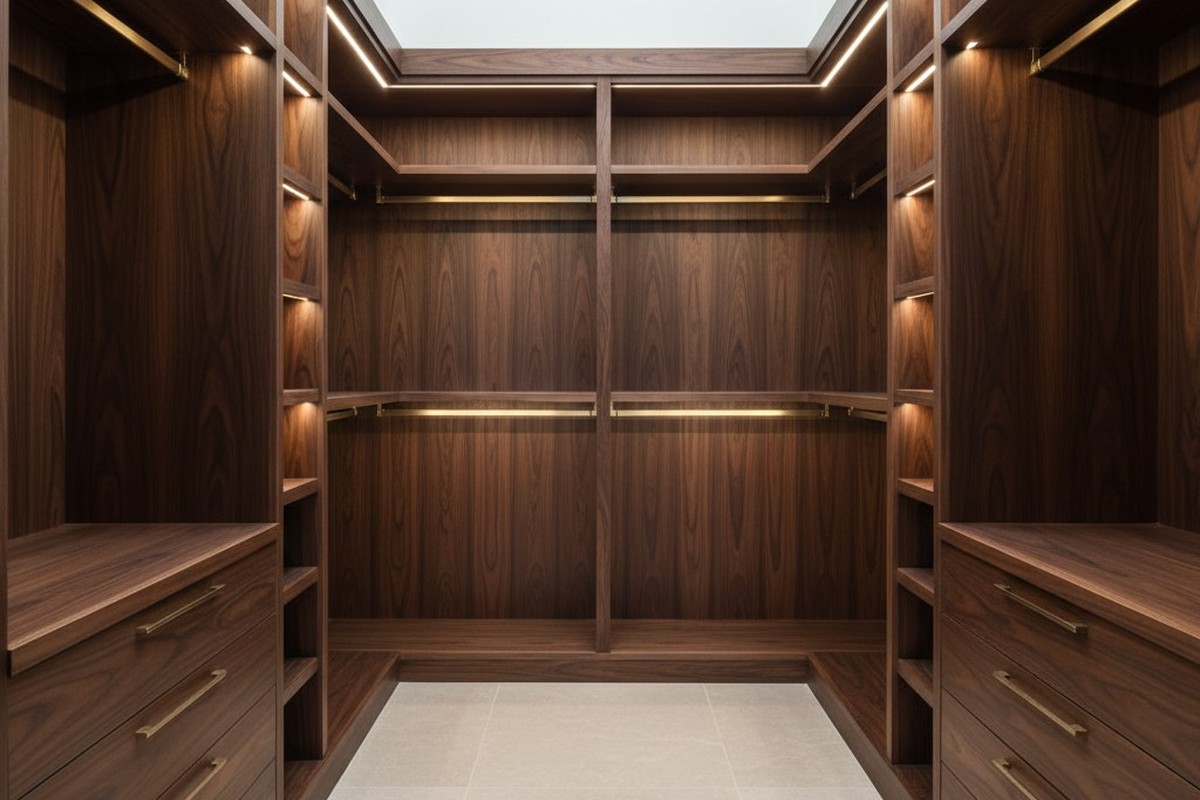
The most common grievance in high-end residential finish work is a scene of pure frustration: a client standing in a forty-thousand-dollar custom closet, waving their arms like a stranded castaway just to get the lights back on. The cabinetry is walnut, the lighting fixtures are architectural grade, and the automation system is top-tier. Yet, the experience is broken.

Cheap hardware is rarely the culprit. The real failure lies in a fundamental misunderstanding of how occupancy sensors perceive space when that space is packed with sound-absorbing, infrared-blocking materials—otherwise known as clothes.
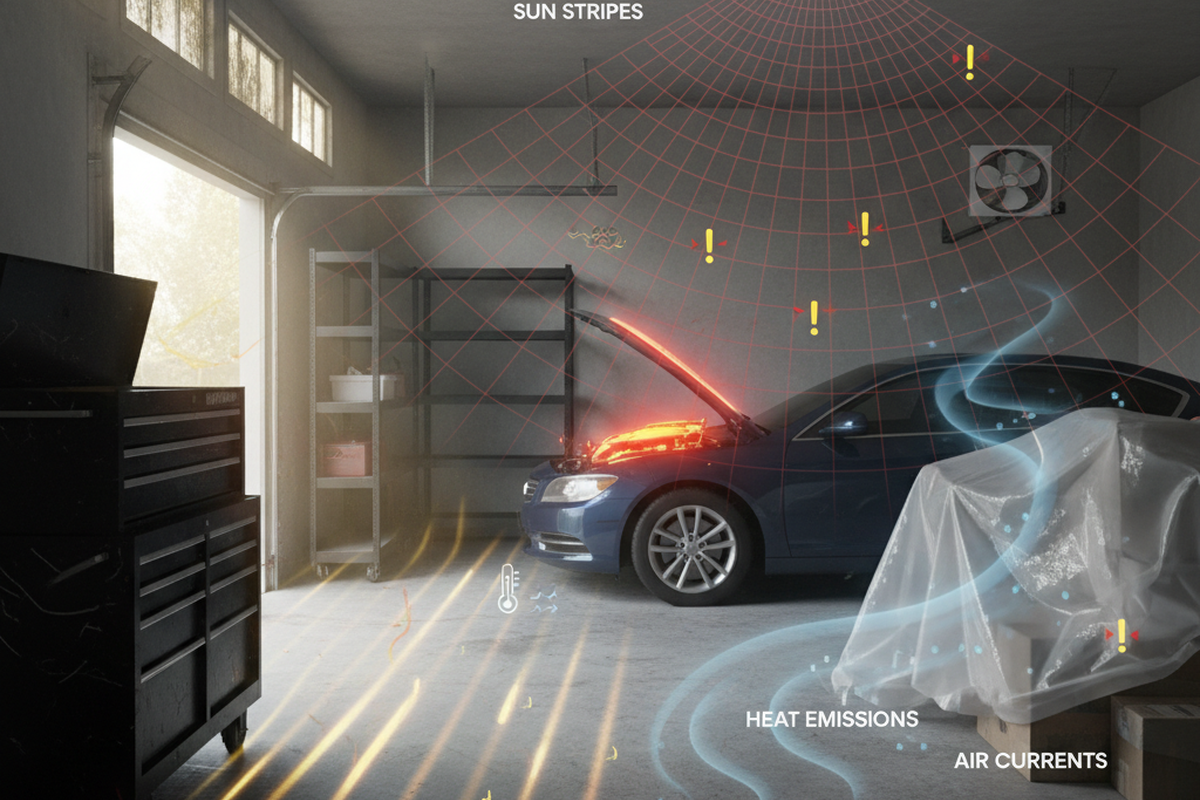
The trap is laid during the rough-in phase. When the electrician walks through the framed closet, the room is just an empty drywall box. In this state, a standard wall-mounted sensor by the door works perfectly. Ultrasonic waves bounce off the hard gypsum walls; the passive infrared (PIR) lens has a clear view of the floor plan.
But a closet isn’t meant to stay empty. Once the joinery is installed and the winter wardrobes move in, the physics of the room change entirely. Hard surfaces disappear, replaced by layers of wool, denim, and down that act as acoustic and thermal black holes. If the sensor placement doesn’t account for this shift, the system is doomed to fail exactly when the client needs it most.
The Physics of Fabric and Occlusion
To design a functional closet, you have to stop thinking of clothes as decor. They are building materials. A row of hanging coats is effectively a secondary wall.
Standard wall-box sensors, often installed at switch height (roughly 48 inches off the floor), rely on a clear line of sight to detect heat signatures. In a walk-in closet, the “occupant” is rarely walking down the center of the aisle. They are standing at the shelves, often reaching into the cabinetry.
When a user steps between two rows of hanging clothes, they enter a canyon. If the sensor is mounted on the wall at the entrance, and the user moves three feet in to browse a suit rack, the hanging clothes immediately create an occlusion shadow. The sensor ends up staring at the sleeve of a trench coat while the human heat signature is completely blocked behind it. Seeing only a static, room-temperature object, the sensor assumes the room is empty. The timer begins its countdown, and moments later, the room goes black.
Maybe You Are Interested In

- Occupancy (Auto-ON/Auto-OFF)
- 12–24V DC (10–30VDC), up to 10A
- 360° coverage, 8–12 m diameter
- Time delay 15 s–30 min
- Light sensor Off/15/25/35 Lux
- High/Low sensitivity
- Auto-ON/Auto-OFF occupancy mode
- 100–265V AC, 10A (neutral required)
- 360° coverage; 8–12 m detection diameter
- Time delay 15 s–30 min; Lux OFF/15/25/35; Sensitivity High/Low
- Auto-ON/Auto-OFF occupancy mode
- 100–265V AC, 5A (neutral required)
- 360° coverage; 8–12 m detection diameter
- Time delay 15 s–30 min; Lux OFF/15/25/35; Sensitivity High/Low

- 100V-230VAC
- Transmission Distance: up to 20m
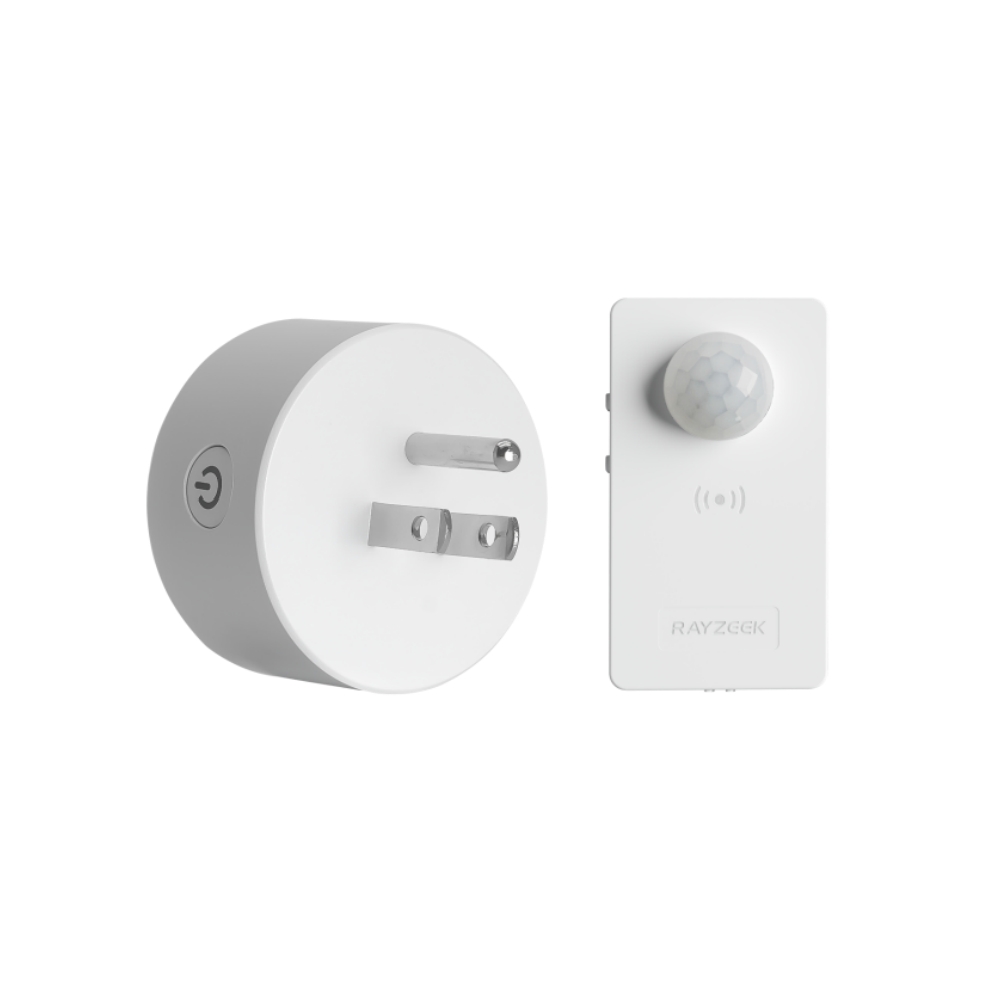
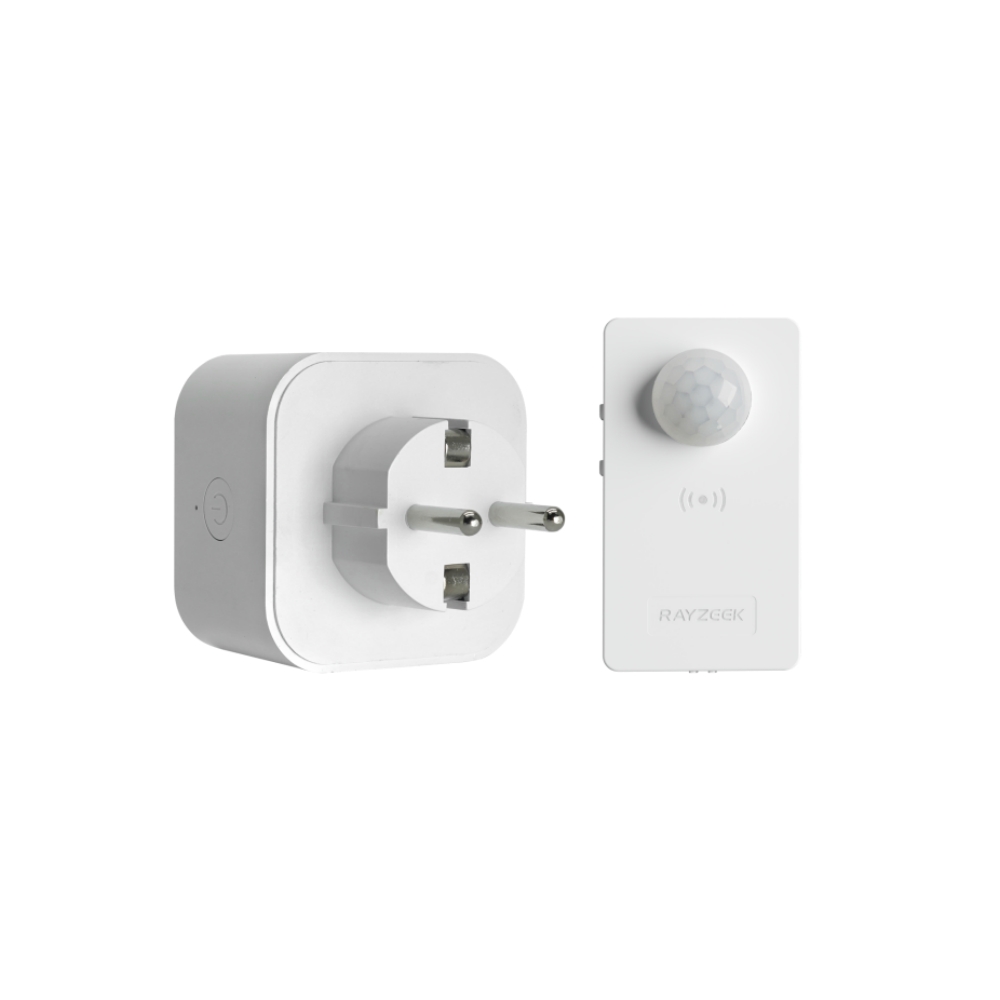
- Wireless motion sensor
- Hardwired control

- Voltage: 2x AAA Batteries / 5V DC (Micro USB)
- Day/Night Mode
- Time delay: 15min, 30min, 1h(default), 2h

- EU plug power adapter

- UK plug power adapter

- US plug power adapter
- 5V DC
- Transmission Distance: up to 30m
- Day/Night mode
- 5V DC
- Transmission Distance: up to 30m
- Day/Night mode
- Voltage: 2 x AAA
- Transmission Distance: 30 m
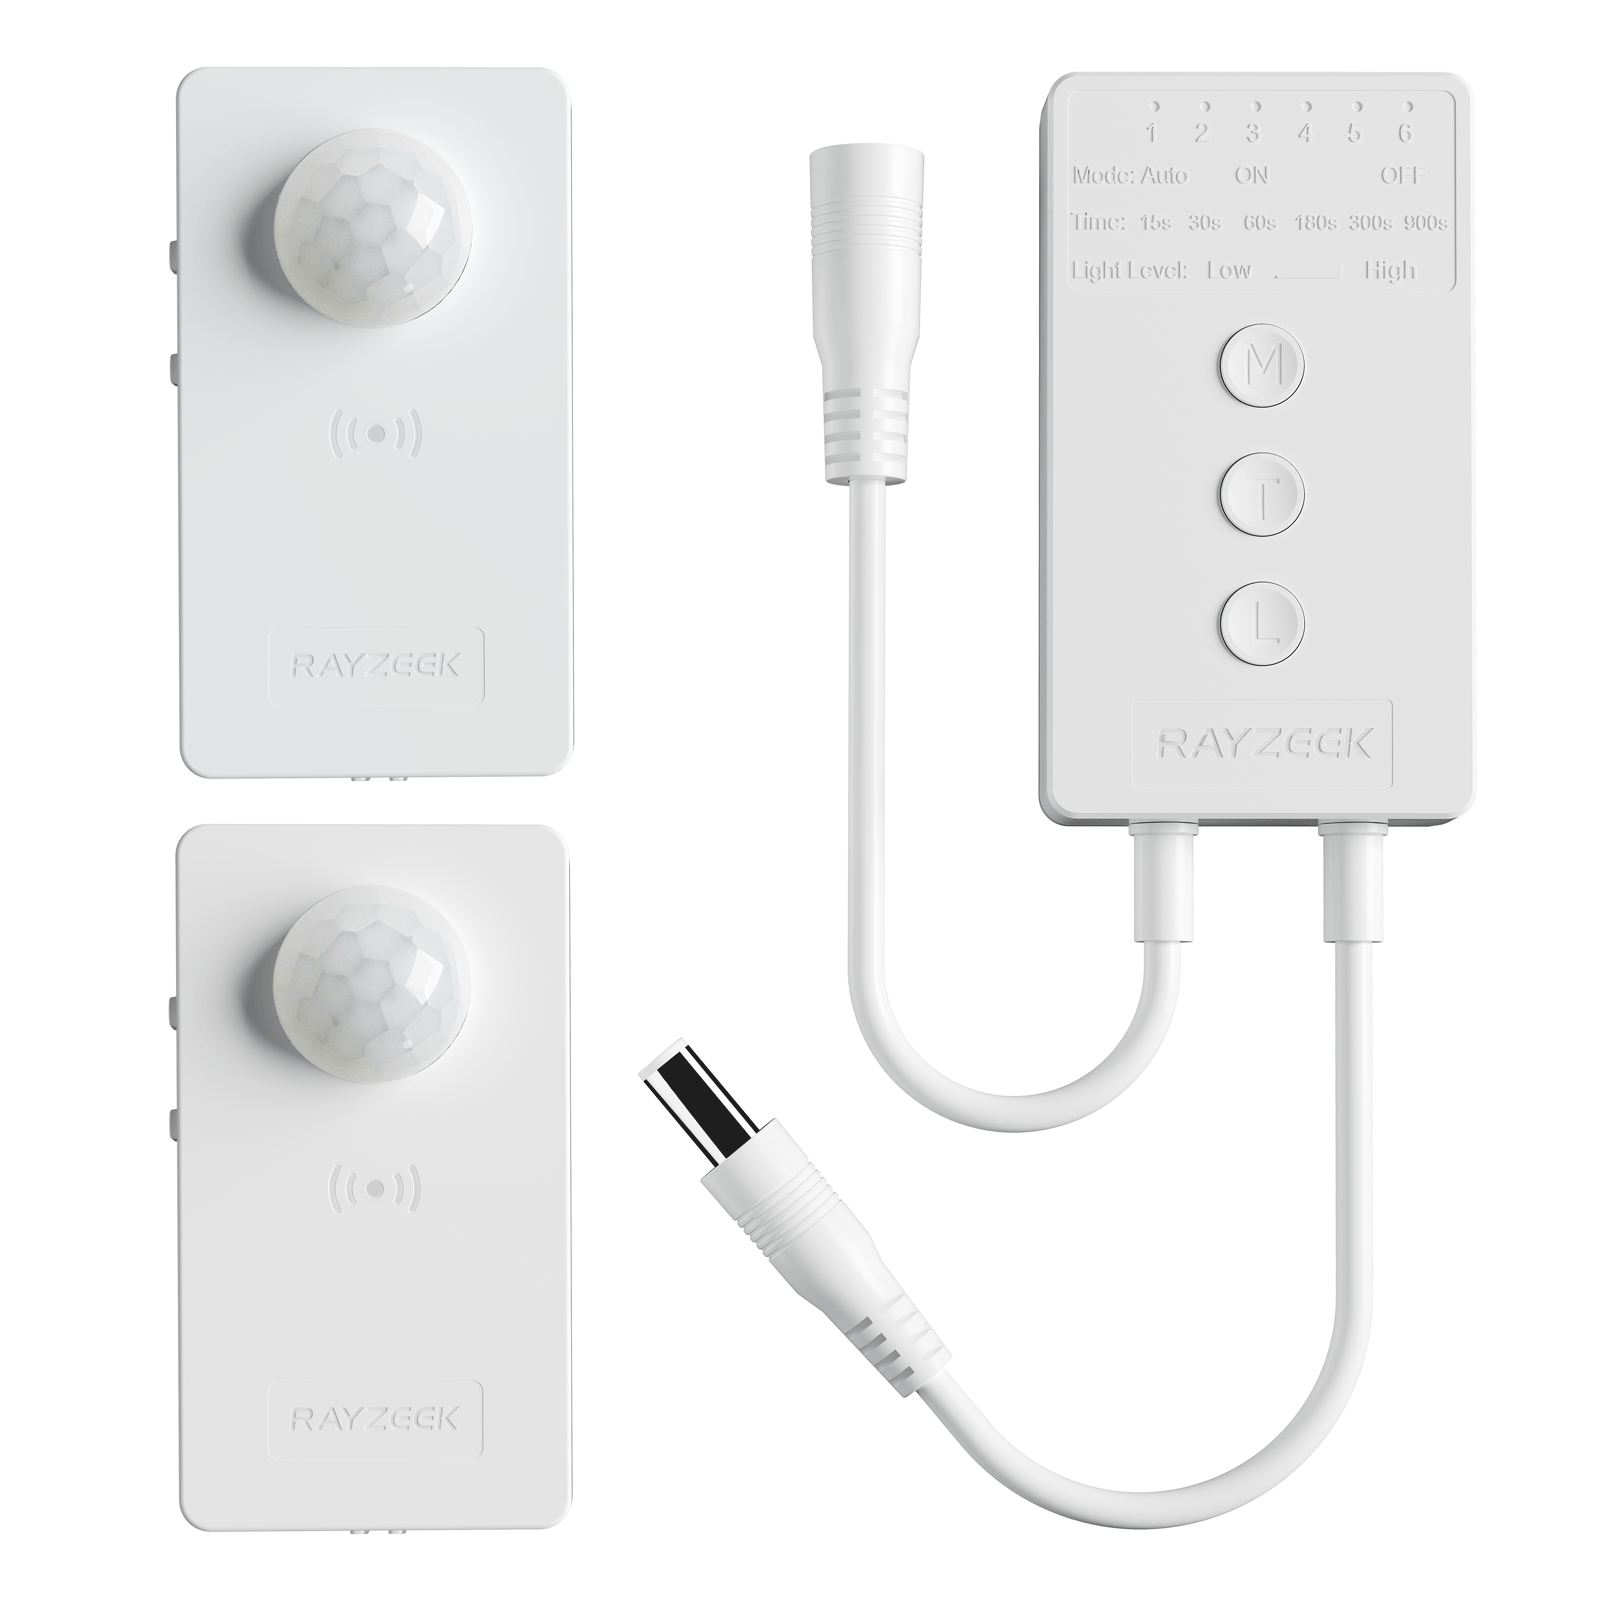
- Time delay: 5s, 1m, 5m, 10m, 30m

- Load Current: 10A Max
- Auto/Sleep Mode
- Time delay: 90s, 5min, 10min, 30min, 60min
- Load Current: 10A Max
- Auto/Sleep Mode
- Time delay: 90s, 5min, 10min, 30min, 60min
- Load Current: 10A Max
- Auto/Sleep Mode
- Time delay: 90s, 5min, 10min, 30min, 60min
- Load Current: 10A Max
- Auto/Sleep Mode
- Time delay: 90s, 5min, 10min, 30min, 60min
- Load Current: 10A Max
- Auto/Sleep Mode
- Time delay: 90s, 5min, 10min, 30min, 60min
- Load Current: 10A Max
- Auto/Sleep Mode
- Time delay: 90s, 5min, 10min, 30min, 60min

- Occupancy mode
- 100V ~ 265V, 5A
- Neutral Wire Required
- 1600 sq ft
- Voltage: DC 12v/24v
- Mode: Auto/ON/OFF
- Time Delay: 15s~900s
- Dimming: 20%~100%
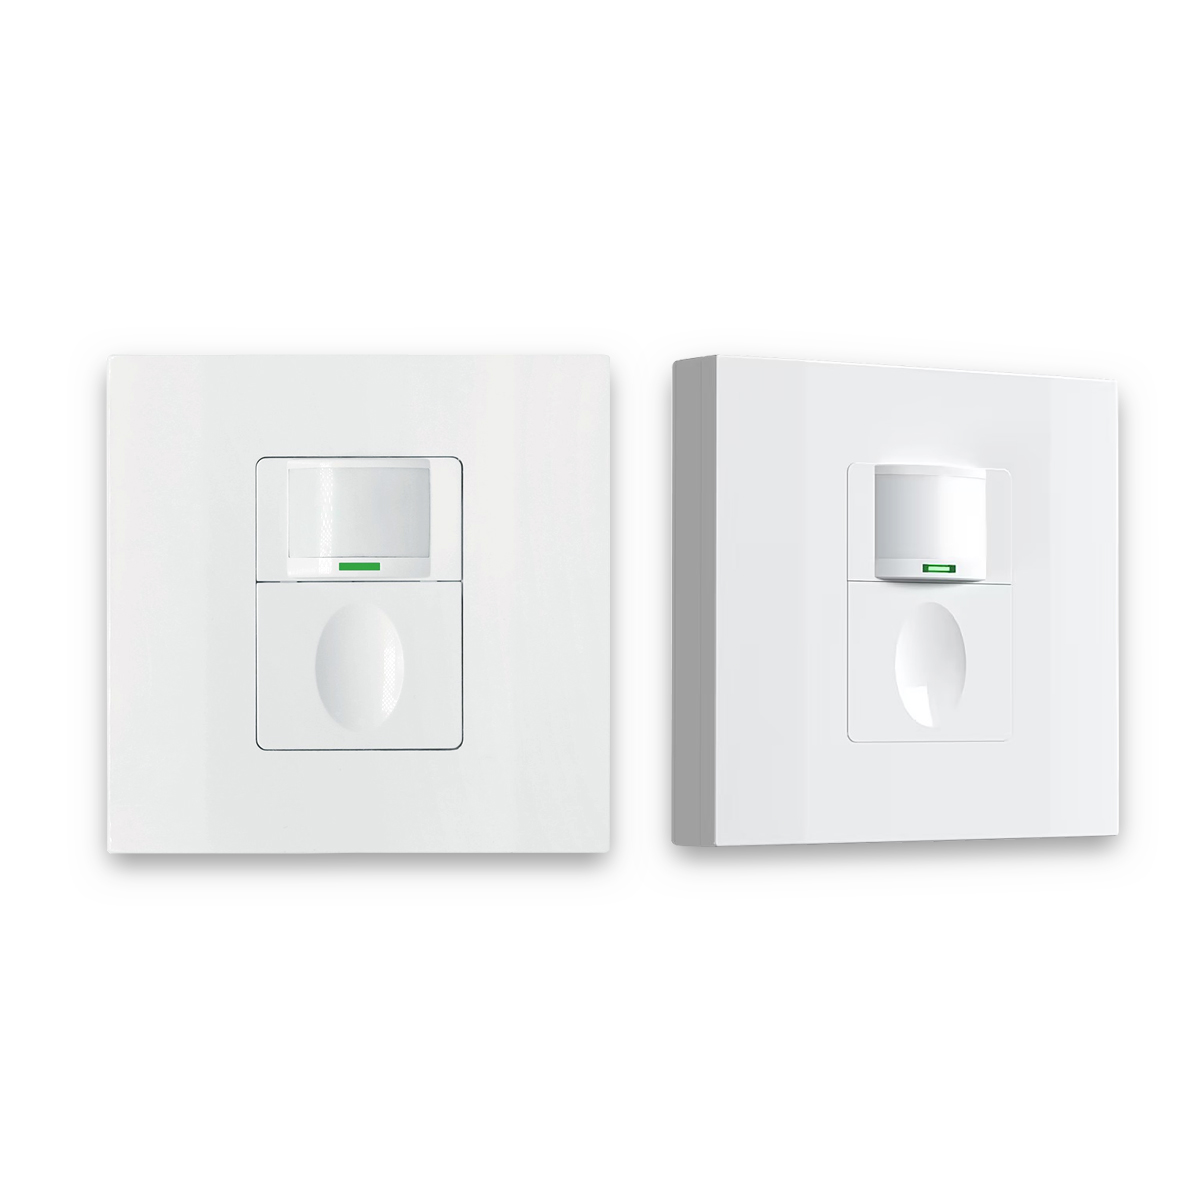
- Occupancy, Vacancy, ON/OFF mode
- 100~265V, 5A
- Neutral Wire Required
- Fits the UK Square backbox

The material properties of clothing compound the issue. While hard surfaces like drywall and glass reflect ultrasonic signals (allowing sensors to “hear” movement around corners), heavy fabrics absorb them. A closet full of winter gear has the acoustic deadness of a recording studio. The Doppler shift signals that would normally trigger a dual-technology sensor are dampened to nothingness. You cannot rely on signal bounce in a closet; you must rely on direct, unblocked optical geometry.
The “Decision Zone” and Minor Motion
The second point of failure is the distinction between “Major Motion” and “Minor Motion.” Most general-purpose sensors are calibrated to detect a person walking into a room—a large thermal mass moving across multiple detection zones. That is Major Motion.
But you don’t walk laps in a dressing room. You stand, contemplate, and dress. This is Minor Motion.
Consider the reality of the morning routine. A person stands in front of a mirror or a drawer bank, perhaps shifting their weight slightly or moving a hand to unbutton a shirt. This is a “high-stakes, low-motion” environment. If the sensor is positioned to catch the entry door but is twenty feet away from the mirror, those micro-movements will fall below the sensor’s sensitivity threshold.
Looking For Motion-Activated Energy-Saving Solutions?
Contact us for complete PIR motion sensors, motion-activated energy-saving products, motion sensor switches, and Occupancy/Vacancy commercial solutions.
Installers are often tempted to patch this by cranking up the timeout delay—setting the lights to stay on for thirty minutes. This is a band-aid that masks a geometry error. If the sensor cannot see the user at the mirror, it doesn’t matter if the timeout is five minutes or fifty; as soon as that timer expires, the user has to walk back to the door to re-trigger the system. The goal isn’t to delay the shut-off; it’s to maintain continuous detection of small movements.
The Ceiling Imperative
Because hanging clothes create occlusion and minor motion is hard to spot, there is only one valid placement for a closet sensor: the ceiling. Specifically, the sensor must be mounted on the horizontal plane, positioned directly above the primary “Decision Zone.”
Relegate wall-mounted controls to manual overrides only. The automation sensor belongs overhead. By moving the vantage point to the ceiling, you bypass the “canyon effect” of the clothing racks. A ceiling-mounted sensor looks down into the gaps between shelving and hanging rods. Think of it like watching a football game from a drone rather than the sidelines; the drone sees everything, regardless of who is standing in front of whom.
Placement must be deliberate. Don’t simply center the sensor in the room geometry. Architects often draw the sensor in the exact center of the floor plan for symmetry, but in a large closet with a center island, this is often a mistake. If the user spends most of their time at the shoe wall on the far end, and the island contains a tall floral arrangement or raised cabinetry, the center-mounted sensor may be blinded.

Map the sensor to the standing area. If there is a dressing island, center the sensor over the walkway where the user stands, not over the island itself. Furthermore, watch out for vertical obstructions added late in the project. A common tragedy involves a perfectly placed rough-in getting blocked by heavy crown molding or a high shelf added by the cabinet maker. The sensor must sit below the plane of the highest obstruction. If the millwork goes to the ceiling, space the sensor far enough off the cabinetry face—typically 2 to 3 feet—so its cone of vision isn’t cut off by the top shelf.
Hardware Selection: The Case Against Dual-Tech
In commercial spaces, Dual-Technology sensors (combining Passive Infrared and Ultrasonic detection) are the gold standard. In a residential closet, they are a liability. While logic suggests using every available technology to detect a person, the acoustic sensitivity of ultrasonic sensors can be disastrous in small, enclosed spaces with HVAC supply vents.
A closet is a small volume of air. When the forced-air heat kicks on, the turbulence from the register can rattle hanging clothes or simply create enough air pressure movement to fool an ultrasonic sensor. This results in the “Midnight Disco” effect: the closet lights cycling on and off all night, bleeding light into the adjacent master bedroom.
For closets attached to bedrooms, a high-sensitivity PIR (Passive Infrared) sensor is the superior choice. PIR is immune to air turbulence and sound. It relies strictly on the movement of heat. Provided the line of sight is established from the ceiling, a high-quality PIR unit—look for models from Lutron or Wattstopper that specifically list “small motion” coverage square footage—will offer the most stable performance without false triggers.
A note on pets: If the home has cats or large dogs that sleep in the closet, a ceiling sensor will detect them. This is unavoidable with standard occupancy programming. If this is a concern, use the masking strips provided with professional sensors to block the view of the floor in specific “pet zones,” or accept that the cat will occasionally turn on the lights.
Get Inspired by Rayzeek Motion Sensor Portfolios.
Doesn't find what you want? Don't worry. There are always alternate ways to solve your problems. Maybe one of our portfolios can help.
Why Shortcuts Fail
Avoid the temptation to bypass the complexity of a ceiling sensor with a door-jamb switch—the plunger style or magnetic reed switch often found in pantries. This is a mistake for a walk-in closet. A door switch only knows the state of the door, not the state of the room.
If you close the door to dress in privacy, the lights turn off. If you leave the door open to air out the room or display the cabinetry, the lights stay on indefinitely. A door switch creates a logic trap that forces the user to manipulate the door just to control the light. That is the opposite of luxury automation.
Similarly, avoid “smart bulbs” as the primary control method. We are discussing architectural lighting—recessed cans and linear LED tape—not screwing a Wi-Fi bulb into a socket. Control needs to happen at the circuit or system level, not the bulb level.
Commissioning for Reality
The final step is the “Naked Test.” It is exactly what it sounds like. A sensor’s sensitivity is often rated based on a clothed human, but skin has a different thermal signature, and a person fresh out of the shower moves differently than a contractor in boots.
When commissioning the sensor, set the timeout to a minimum of 15 minutes. The factory default on many units is 5 minutes or a “Test” mode of 15 seconds. This is insufficient for a dressing room. You want the system to ride through those moments of stillness when a person is staring at their shoe collection.
Verify the coverage by standing in the deepest, most obstructed corner of the closet—where the long coats hang—and standing still. If you have to wave your arm to keep the lights on, the placement is wrong. Move the sensor, or add a second one linked to the same zone. The cost of a second sensor is negligible compared to the frustration of a dark closet.