An artisan studio is a place of focused creation, yet it’s often plagued by a subtle, persistent annoyance. Lights flicker on in an empty room, triggered by a cooling kiln. A ventilation fan roars to life, not for a person, but for the heat shimmer of a torch. A tool of convenience becomes a source of distraction and wasted energy. The motion sensor, intended as a silent servant, now seems to have a will of its own.
This isn’t a sign of a faulty sensor. It’s performing exactly as designed, detecting the very thermal energy it was built to see. The problem is a mismatch between the technology and its uniquely challenging environment; the sensor can’t distinguish a human’s infrared signature from the powerful thermal noise of hot equipment. Restoring order requires a new playbook—one of strategic placement, simple modifications, and intelligent settings that make motion-activated systems loyal to people, not glowing kilns.
The Phantom in the Studio: Why Heat Fools Motion Sensors
Solving false triggers begins with understanding the technology. Most motion sensors are Passive Infrared (PIR) devices. They aren’t cameras watching for movement, but simple heat detectors designed to respond to change.
How PIR Sensors See the World
A PIR sensor monitors the ambient infrared energy within its field of view. This view is segmented into multiple detection zones by a patterned Fresnel lens—the multifaceted plastic cover you see on the front. As long as the infrared energy across these zones remains stable, the system is dormant. A trigger only occurs when a source of heat, like a person, moves from one zone to another. This creates a rapid differential in detected radiation, which the sensor interprets as motion.
Radiant Heat vs. Convection Currents
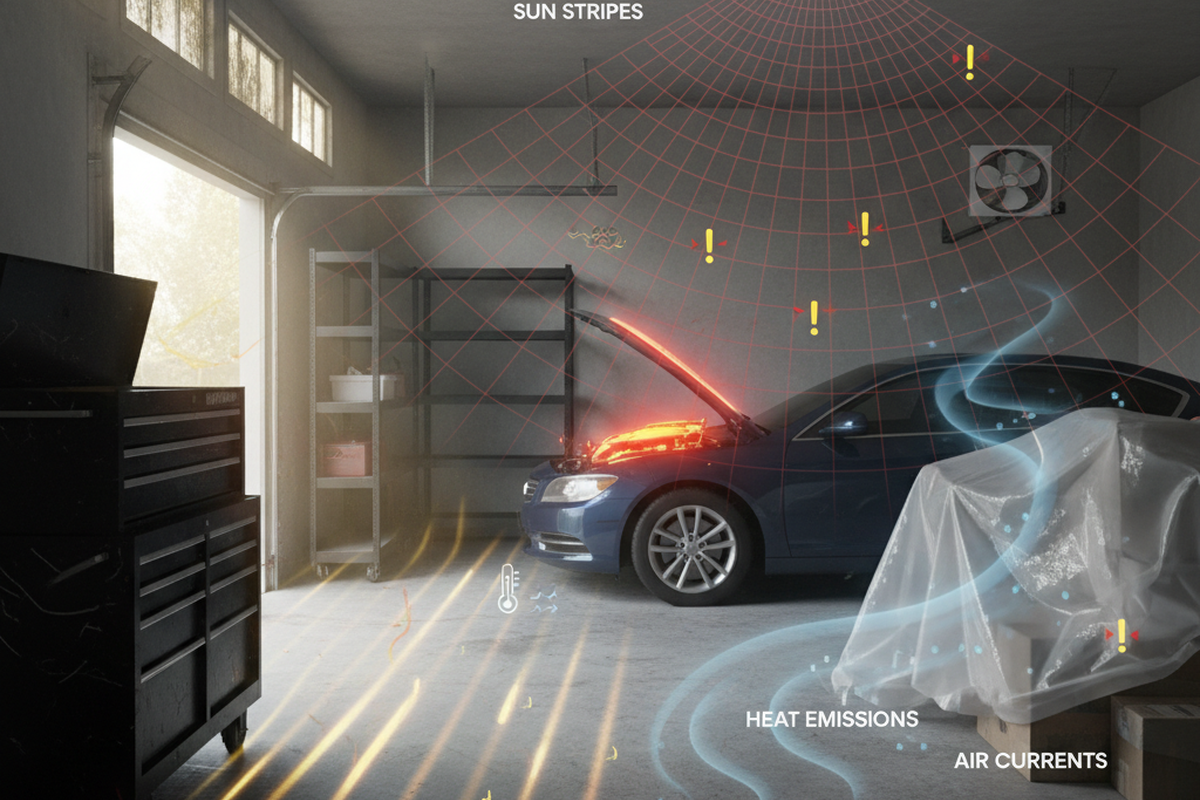
An artisan studio presents two main sources of thermal interference that mimic a person’s heat signature. The first is radiant heat, the intense infrared energy pouring directly from a kiln, forge, or glowing piece of glass. If this source is in the sensor’s line of sight, its immense and fluctuating thermal output will easily cause a false trigger.

The second, more subtle culprit is convection. Hot equipment warms the surrounding air, which rises in plumes and currents. These moving pockets of warm air drift through the sensor’s detection zones, creating the exact kind of rapid thermal change the system is built to detect. This is why a sensor might activate long after a torch is off, as residual heat circulates through the space, fooling a poorly placed sensor.
A Strategy of Avoidance: The First Rule of Sensor Placement
The most powerful tool for preventing heat-related false triggers is not in the sensor’s settings, but in its location. Strategic placement is the first and most important rule.
Map Your Thermal Zones

Begin by mentally mapping the studio into “hot” and “cool” zones. Hot zones include any area in the direct line of sight of kilns, forges, and glory holes, as well as the airspace directly above and around them where convection currents are strongest. Cool zones are the remaining areas: pathways, entrances, and workstations away from the heat. The goal is to position the sensor to cover only the cool zones where people actually move.
Get Inspired by Rayzeek Motion Sensor Portfolios.
Doesn't find what you want? Don't worry. There are always alternate ways to solve your problems. Maybe one of our portfolios can help.
Mount High and Off-Axis
The most effective technique is to mount the sensor high on a wall or ceiling and aim it downward, carefully angled away from any hot zones. This high, off-axis position uses simple geometry to its advantage. It creates a field of view focused on the floor and walkways, leaving the equipment itself outside the detection pattern. By pointing the sensor away from the heat source, you severely limit its ability to “see” problematic radiation and convection.
Blinding the Sensor: Precision Control Through Lens Masking
In smaller or more complex studios, perfect placement might be impossible. A sensor may need to cover a pathway that runs near a kiln, making some overlap with a hot zone unavoidable. For this, a simple modification provides a surgical fix: lens masking.
Looking For Motion-Activated Energy-Saving Solutions?
Contact us for complete PIR motion sensors, motion-activated energy-saving products, motion sensor switches, and Occupancy/Vacancy commercial solutions.
Identify the Problem Zones
With the sensor in its best possible position, determine which specific segments of its lens are “seeing” the heat source. You can often do this by watching the sensor’s trigger light in relation to your equipment’s heating and cooling cycles. When the kiln kicks on and the sensor trips, the part of the lens aimed in that direction is your target.
Apply the Mask
Once you’ve identified the problem segments, the fix is precise. Using a small piece of opaque material like electrical tape, create a blind spot on the inside of the Fresnel lens cover. This blocks infrared radiation from reaching the detector element behind that segment without interfering with the rest of the lens. You aren’t reducing the sensor’s overall sensitivity; you are surgically removing the problem area from its field of view.
Tuning for Patience: Why Conservative Settings Are Key
With placement and masking addressed, the final step is fine-tuning the sensor’s settings. In a thermally active environment, a patient, conservative sensor is better than a hypersensitive one. The goal is to ignore brief thermal events and respond only to the clear signature of a person.
Set Longer Timeouts
Many motion sensors have an adjustable time delay, which dictates how long the lights stay on after motion stops. A longer timeout of 15 to 30 minutes is ideal here. This conservative setting acts as a buffer, preventing the system from cycling on and off in response to transient convection currents or other momentary thermal spikes. It ensures the lights are on when the space is truly occupied, not just chasing thermal ghosts.
Reduce Sensitivity
Lowering the sensor’s sensitivity is another crucial adjustment. High sensitivity is designed for subtle movements, which in a studio makes it vulnerable to gentle air currents. By reducing sensitivity, you instruct the sensor to require a larger, more distinct thermal change before activating. This makes it far more likely to ignore the drift of warm air while still reliably detecting a person. It is a trade-off that favors reliability over hyper-reactivity.
Maybe You Are Interested In

- Occupancy (Auto-ON/Auto-OFF)
- 12–24V DC (10–30VDC), up to 10A
- 360° coverage, 8–12 m diameter
- Time delay 15 s–30 min
- Light sensor Off/15/25/35 Lux
- High/Low sensitivity
- Auto-ON/Auto-OFF occupancy mode
- 100–265V AC, 10A (neutral required)
- 360° coverage; 8–12 m detection diameter
- Time delay 15 s–30 min; Lux OFF/15/25/35; Sensitivity High/Low
- Auto-ON/Auto-OFF occupancy mode
- 100–265V AC, 5A (neutral required)
- 360° coverage; 8–12 m detection diameter
- Time delay 15 s–30 min; Lux OFF/15/25/35; Sensitivity High/Low

- 100V-230VAC
- Transmission Distance: up to 20m
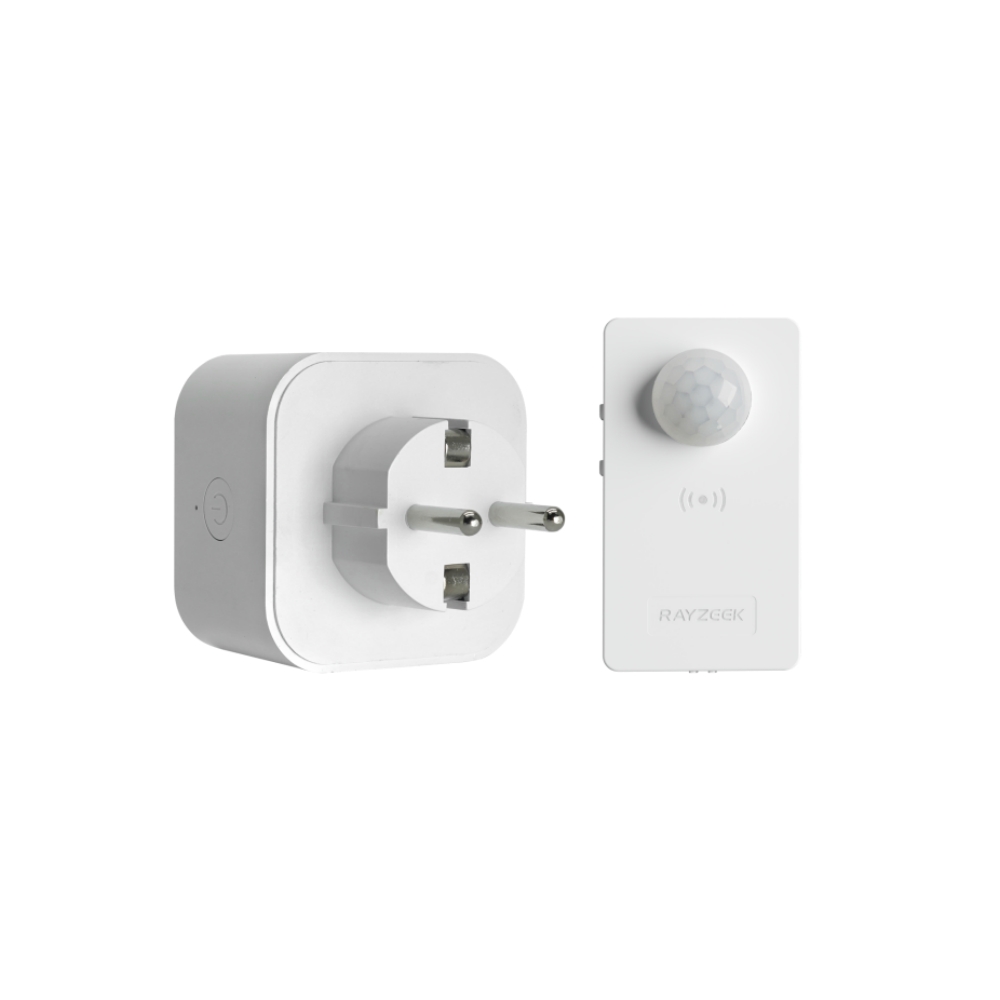
- Wireless motion sensor
- Hardwired control

- Voltage: 2x AAA Batteries / 5V DC (Micro USB)
- Day/Night Mode
- Time delay: 15min, 30min, 1h(default), 2h

- EU plug power adapter

- UK plug power adapter

- US plug power adapter
- 5V DC
- Transmission Distance: up to 30m
- Day/Night mode
- 5V DC
- Transmission Distance: up to 30m
- Day/Night mode
- Voltage: 2 x AAA
- Transmission Distance: 30 m
- Time delay: 5s, 1m, 5m, 10m, 30m

- Load Current: 10A Max
- Auto/Sleep Mode
- Time delay: 90s, 5min, 10min, 30min, 60min
- Load Current: 10A Max
- Auto/Sleep Mode
- Time delay: 90s, 5min, 10min, 30min, 60min
- Load Current: 10A Max
- Auto/Sleep Mode
- Time delay: 90s, 5min, 10min, 30min, 60min
- Load Current: 10A Max
- Auto/Sleep Mode
- Time delay: 90s, 5min, 10min, 30min, 60min
- Load Current: 10A Max
- Auto/Sleep Mode
- Time delay: 90s, 5min, 10min, 30min, 60min
- Load Current: 10A Max
- Auto/Sleep Mode
- Time delay: 90s, 5min, 10min, 30min, 60min

- Occupancy mode
- 100V ~ 265V, 5A
- Neutral Wire Required
- 1600 sq ft
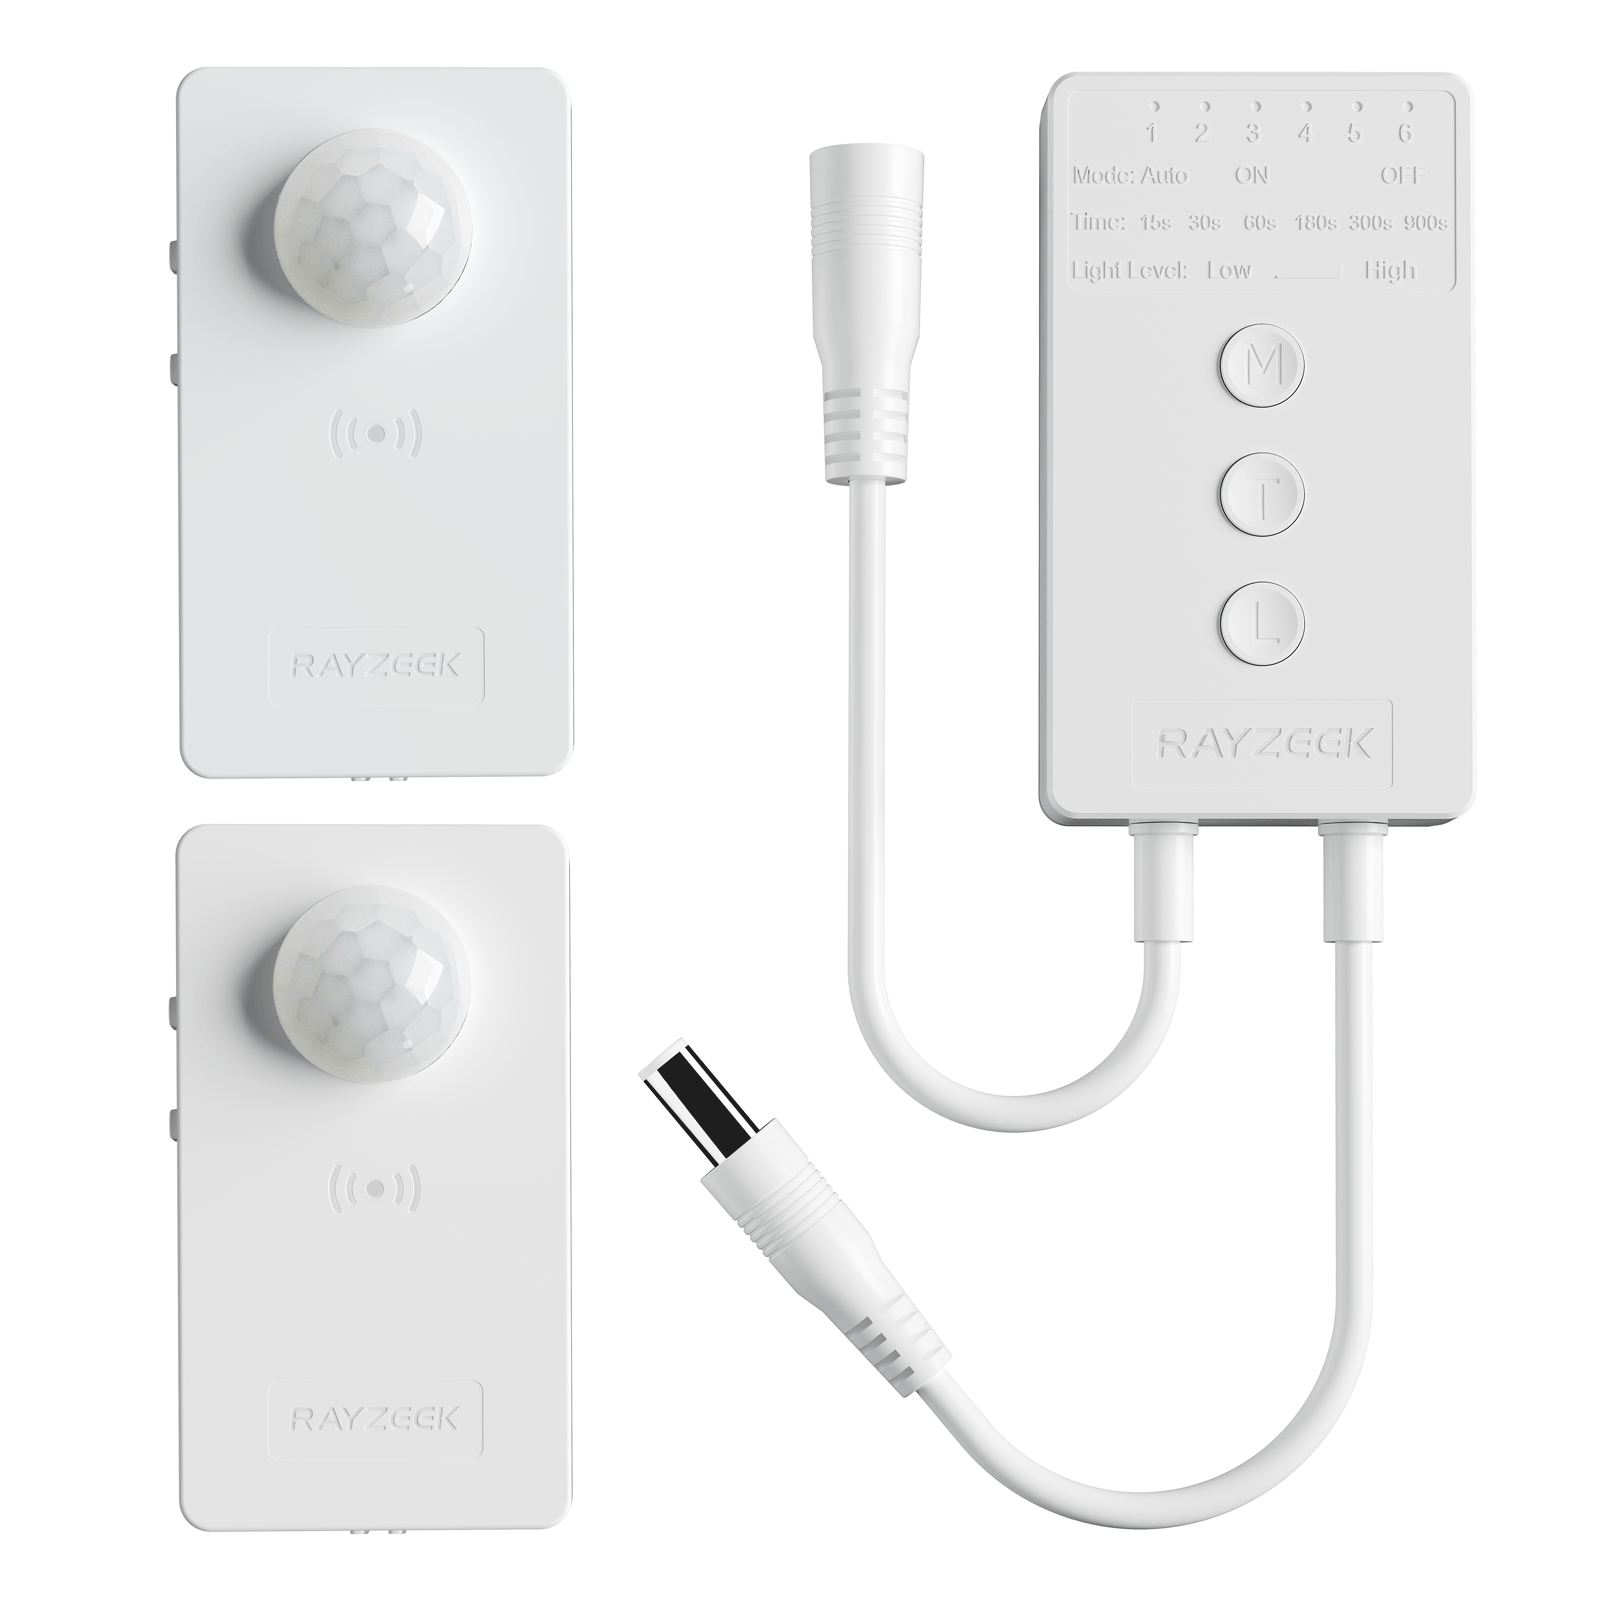
- Voltage: DC 12v/24v
- Mode: Auto/ON/OFF
- Time Delay: 15s~900s
- Dimming: 20%~100%
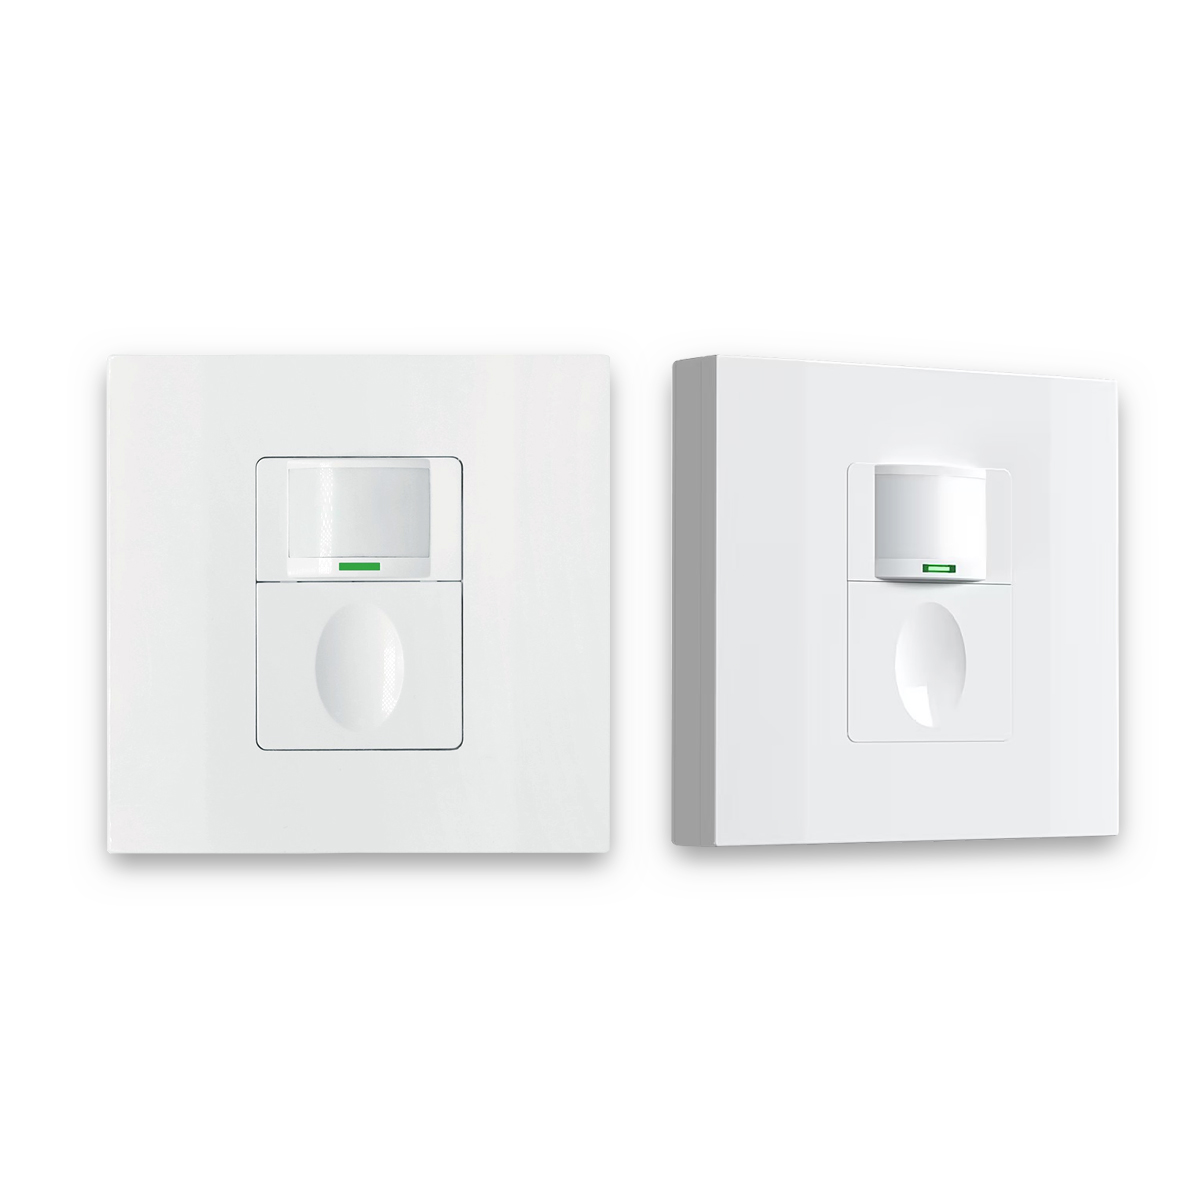
- Occupancy, Vacancy, ON/OFF mode
- 100~265V, 5A
- Neutral Wire Required
- Fits the UK Square backbox
When PIR Is Not the Answer: Exploring Alternatives
For the most extreme environments, where high ambient temperatures or multiple heat sources make interference unavoidable, even a well-tuned PIR sensor can fail. In these cases, it’s time to look at other technologies.
Microwave Sensors
Microwave sensors operate on a completely different principle. They actively emit low-power microwaves and detect motion by analyzing the Doppler shift in the waves that bounce back from moving objects. Because this technology detects physical movement rather than heat, it is completely immune to radiant heat, convection currents, and temperature changes, making it an excellent choice for hot workshops.
Dual-Technology Sensors
The most robust solution for challenging spaces is a dual-technology sensor, which combines both PIR and microwave sensors in a single unit. To trigger, both technologies must detect motion simultaneously. This layer of confirmation provides the highest possible resistance to false alarms. A plume of hot air might fool the PIR, but it won’t fool the microwave. A vibrating machine might fool the microwave, but it won’t fool the PIR. Only a person, who is both warm and physically moving, can satisfy both conditions, ensuring the system responds only when it should.