
Energy code compliance creates a familiar anxiety for small business owners. The requirement exists, the inspector will verify it, and failure means costly rework or a citation. Yet the path to compliance often seems to demand building automation systems and network integration—complexity that a small operation can’t justify. The result is anxiety, delays, and avoidable violations.
This anxiety rests on a misconception. Modern energy codes mandate automatic lighting control, but not automation infrastructure. The requirement is functional, not technological. A stand-alone occupancy sensor in a private office, a vacancy sensor in a storage room, or a simple motion-activated switch in a restroom can satisfy the standard completely. No central panel, no network, no software.
This is a pragmatic guide to lighting control compliance for small commercial spaces. We’ll explain the actual requirements, show how basic sensors meet the code’s intent, and provide the room-by-room strategy and minimal documentation needed to pass inspections without excess cost.
The Myth of the Complex System
Energy codes are written in the language of engineering standards, cross-referencing sections and exceptions that obscure the core requirement. Inspectors arrive with checklists, and a failed inspection triggers change orders, added material costs, and schedule delays. For a business owner retrofitting a leased office or opening a new location, the risk of getting it wrong feels significant.
The natural assumption is that compliance requires a sophisticated control system. Vendors offer integrated solutions with smartphone apps, occupancy analytics, and daylight harvesting. These systems are effective, and for large buildings pursuing deep energy savings, they make sense. But their presence in the market creates a false impression. The business owner sees these advanced products and concludes that the code demands a similar level of investment.
It doesn’t. The code requires automatic shutoff in specific spaces. How that shutoff is achieved is a design choice, and the simplest compliant choice is a sensor that controls a single fixture or a small zone.
What Energy Codes Actually Require
Energy codes in the United States derive primarily from two model standards: ASHRAE 90.1 for commercial projects and the International Energy Conservation Code (IECC), which is widely adopted by states and cities. Some states, notably California with its Title 24, maintain their own standards. Despite variations, the core requirement for lighting control is consistent.
The Automatic Shutoff Mandate
The principle is simple: lighting in certain spaces must turn off automatically when the space is unoccupied. The intent is to eliminate the waste from lights left on in empty rooms. Manual switching isn’t enough because people forget or lack the incentive to turn lights off.
The code specifies an outcome, not a technology. If the light goes off automatically when no one is present, the requirement is met. This can be accomplished by a time clock, an occupancy sensor, or a networked system. The inspector’s test is straightforward: does the light turn off on its own within the code’s allowed time frame? For most applications, that’s 20 to 30 minutes of vacancy. The exact duration matters less than the fact that shutoff happens without human intervention.
When the Requirement Applies
The automatic shutoff mandate applies broadly, triggered by space type and project scope.
Maybe You Are Interested In

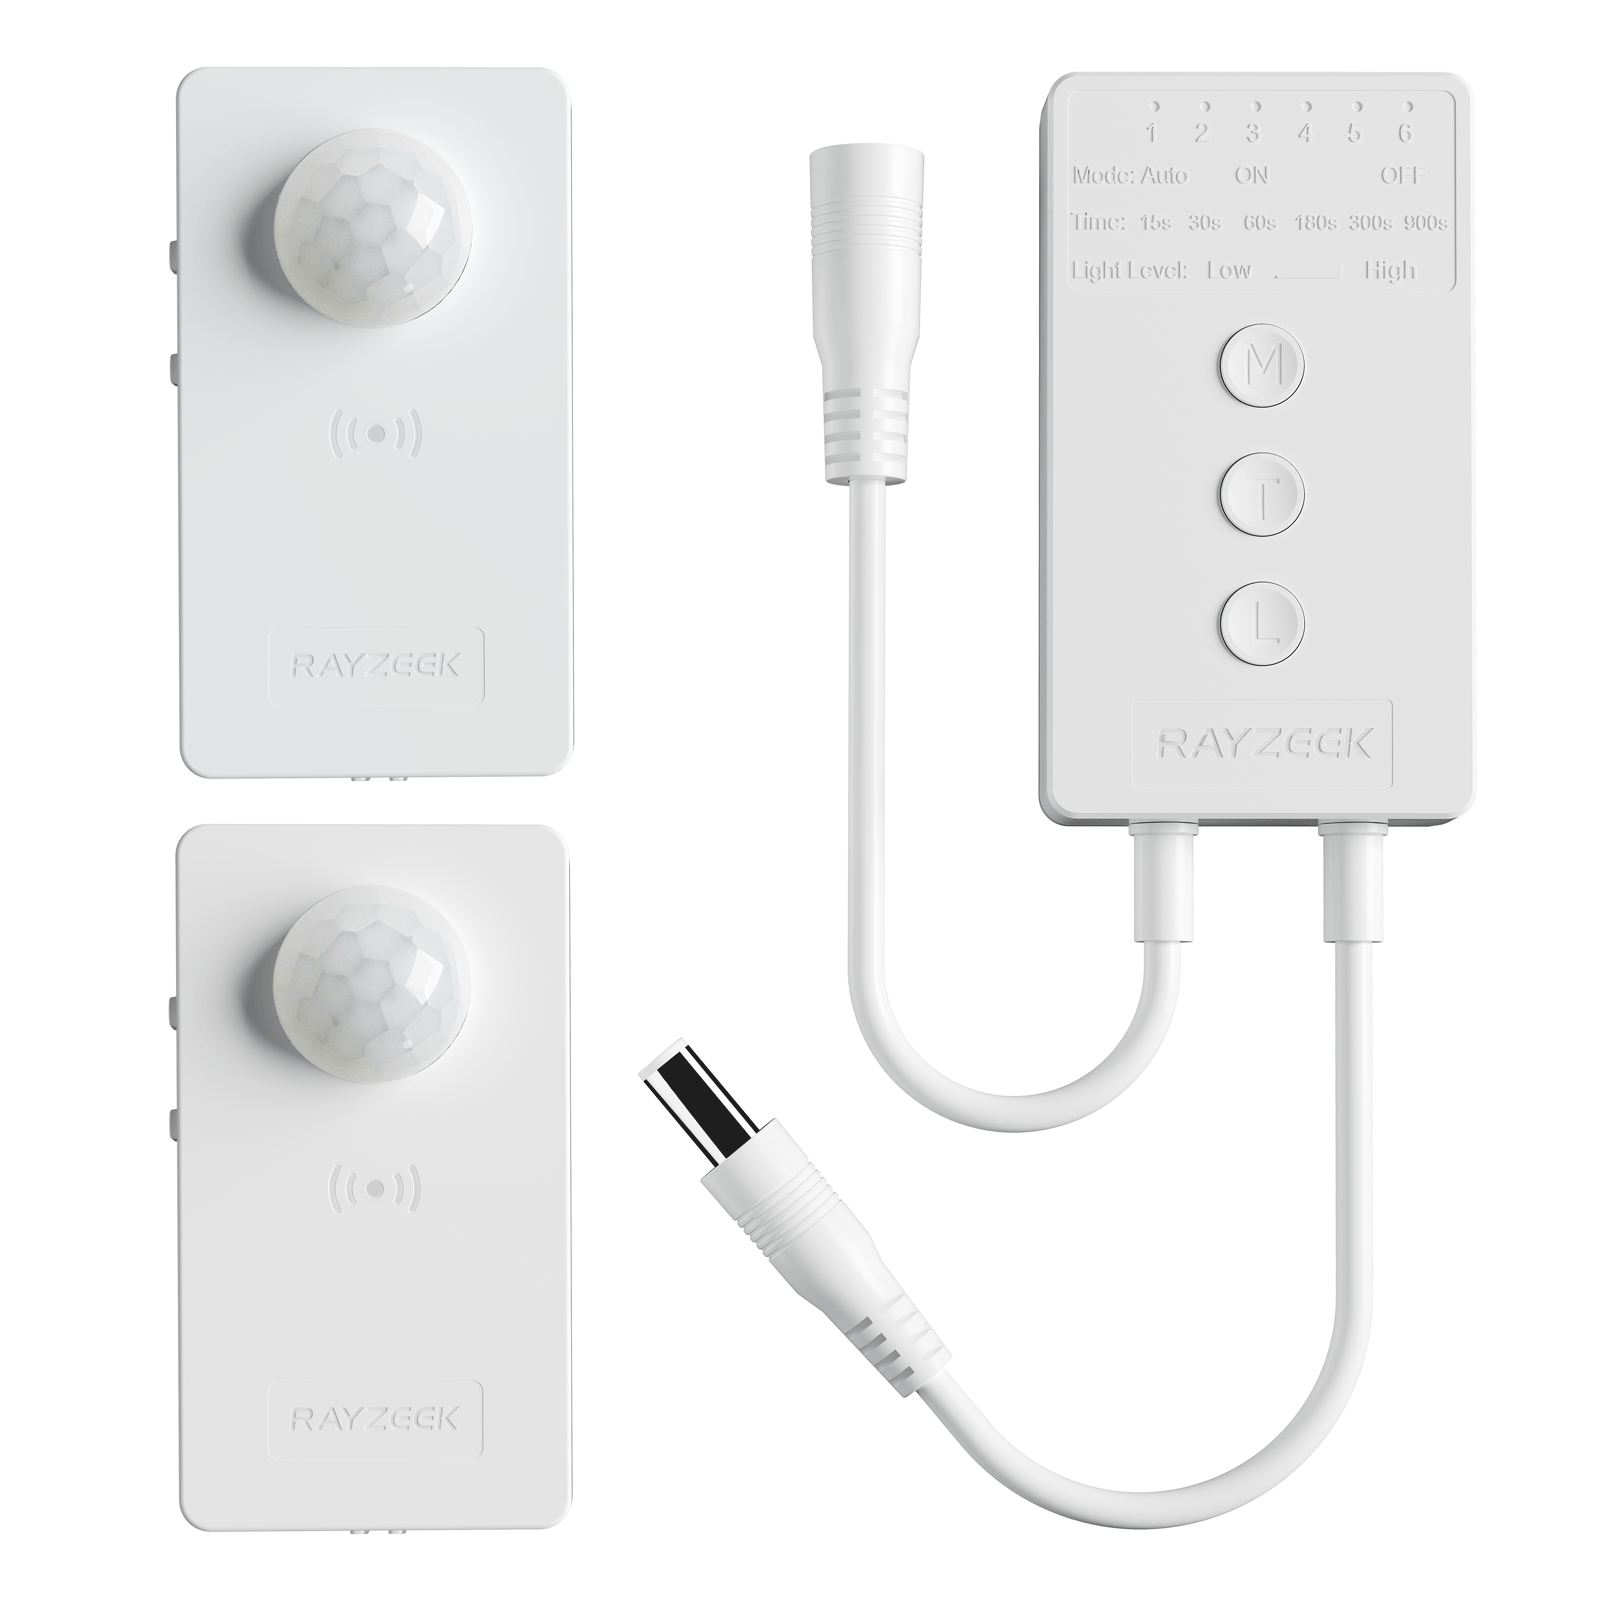
- Occupancy (Auto-ON/Auto-OFF)
- 12–24V DC (10–30VDC), up to 10A
- 360° coverage, 8–12 m diameter
- Time delay 15 s–30 min
- Light sensor Off/15/25/35 Lux
- High/Low sensitivity
- Auto-ON/Auto-OFF occupancy mode
- 100–265V AC, 10A (neutral required)
- 360° coverage; 8–12 m detection diameter
- Time delay 15 s–30 min; Lux OFF/15/25/35; Sensitivity High/Low
- Auto-ON/Auto-OFF occupancy mode
- 100–265V AC, 5A (neutral required)
- 360° coverage; 8–12 m detection diameter
- Time delay 15 s–30 min; Lux OFF/15/25/35; Sensitivity High/Low

- 100V-230VAC
- Transmission Distance: up to 20m
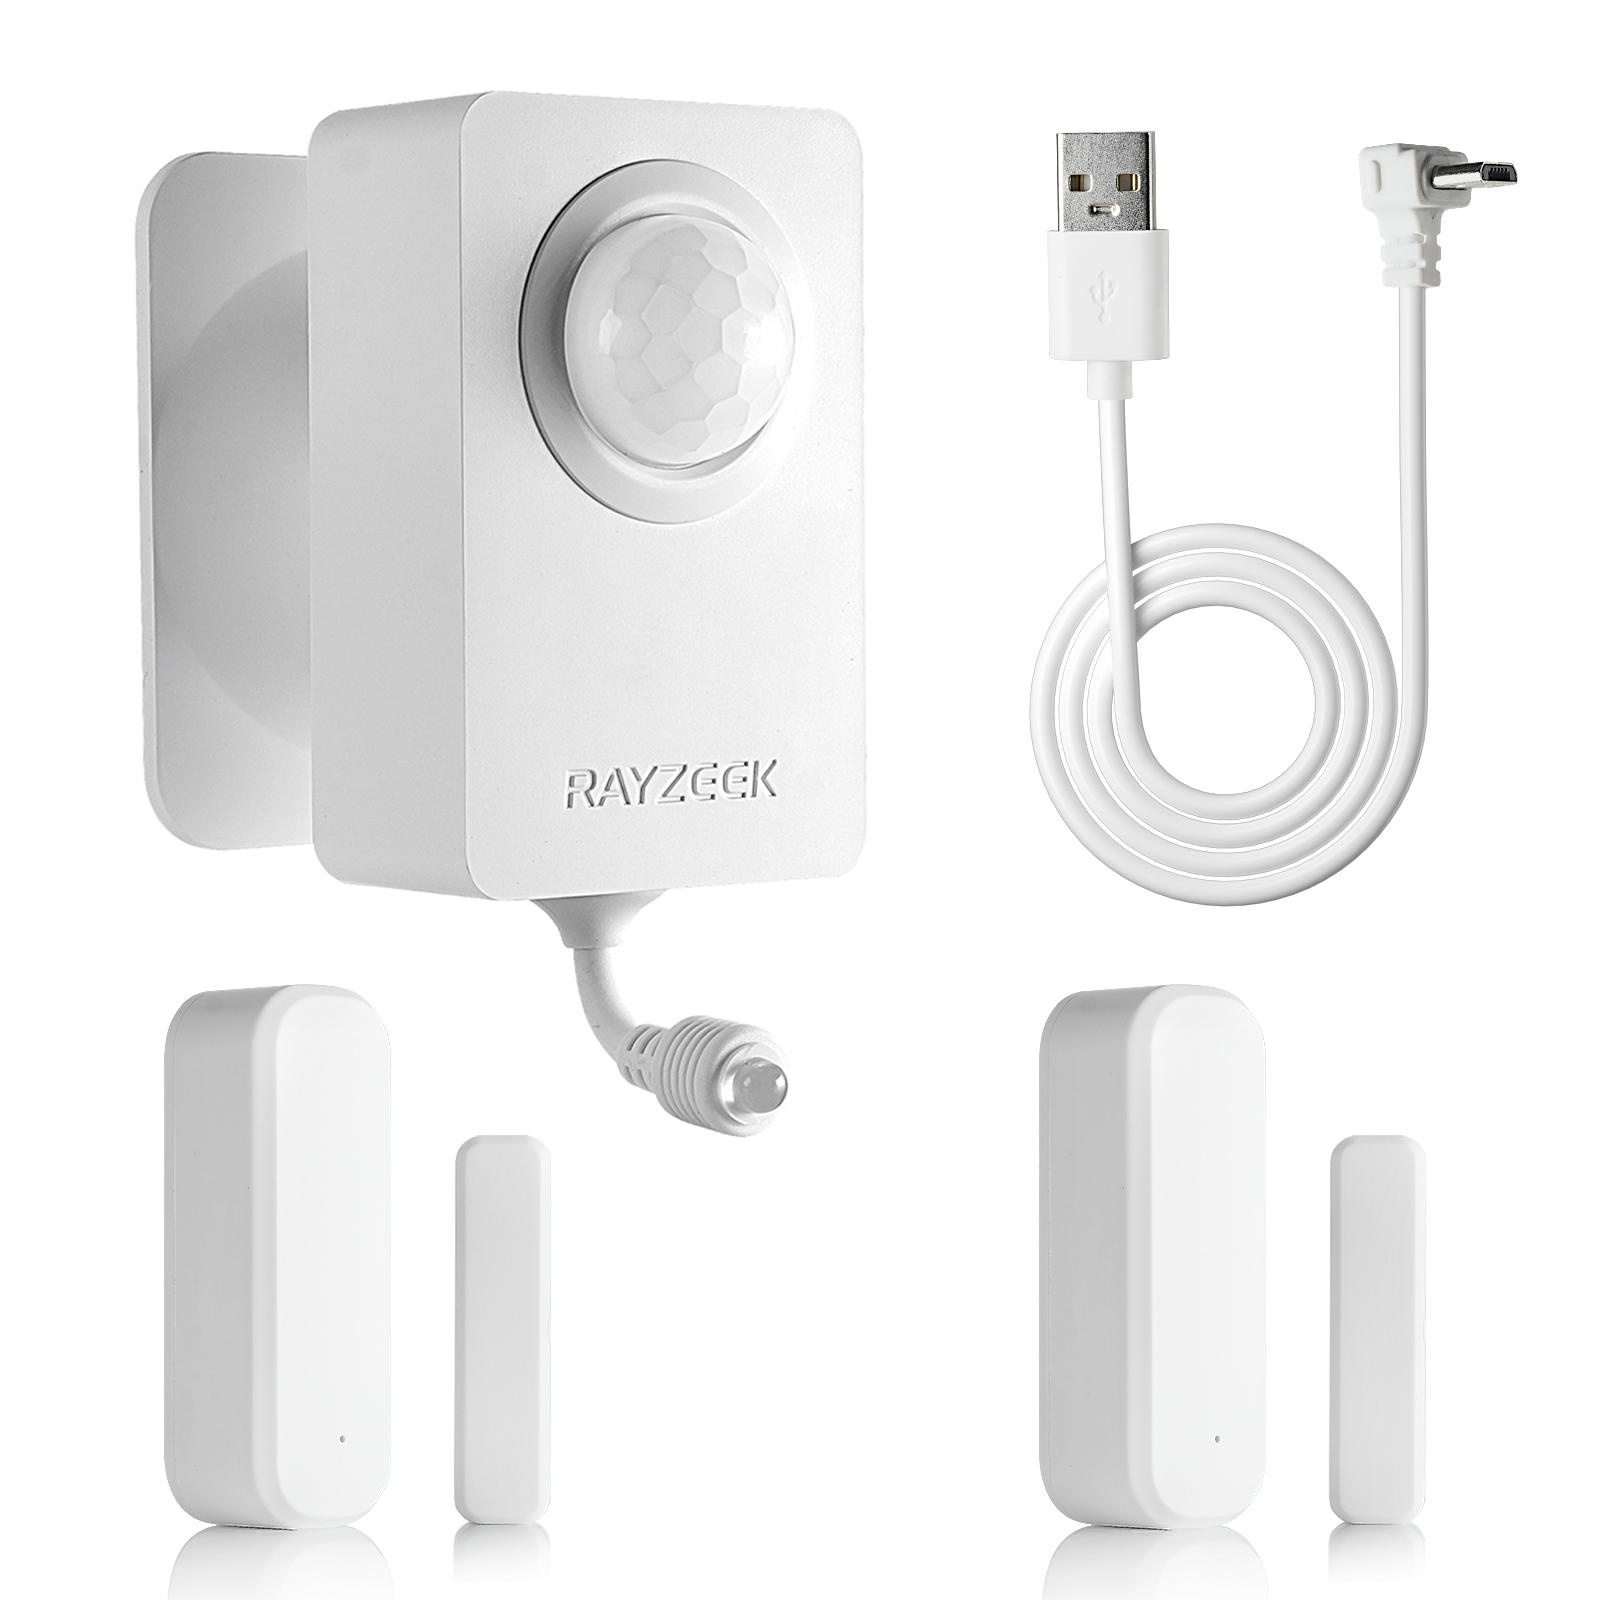
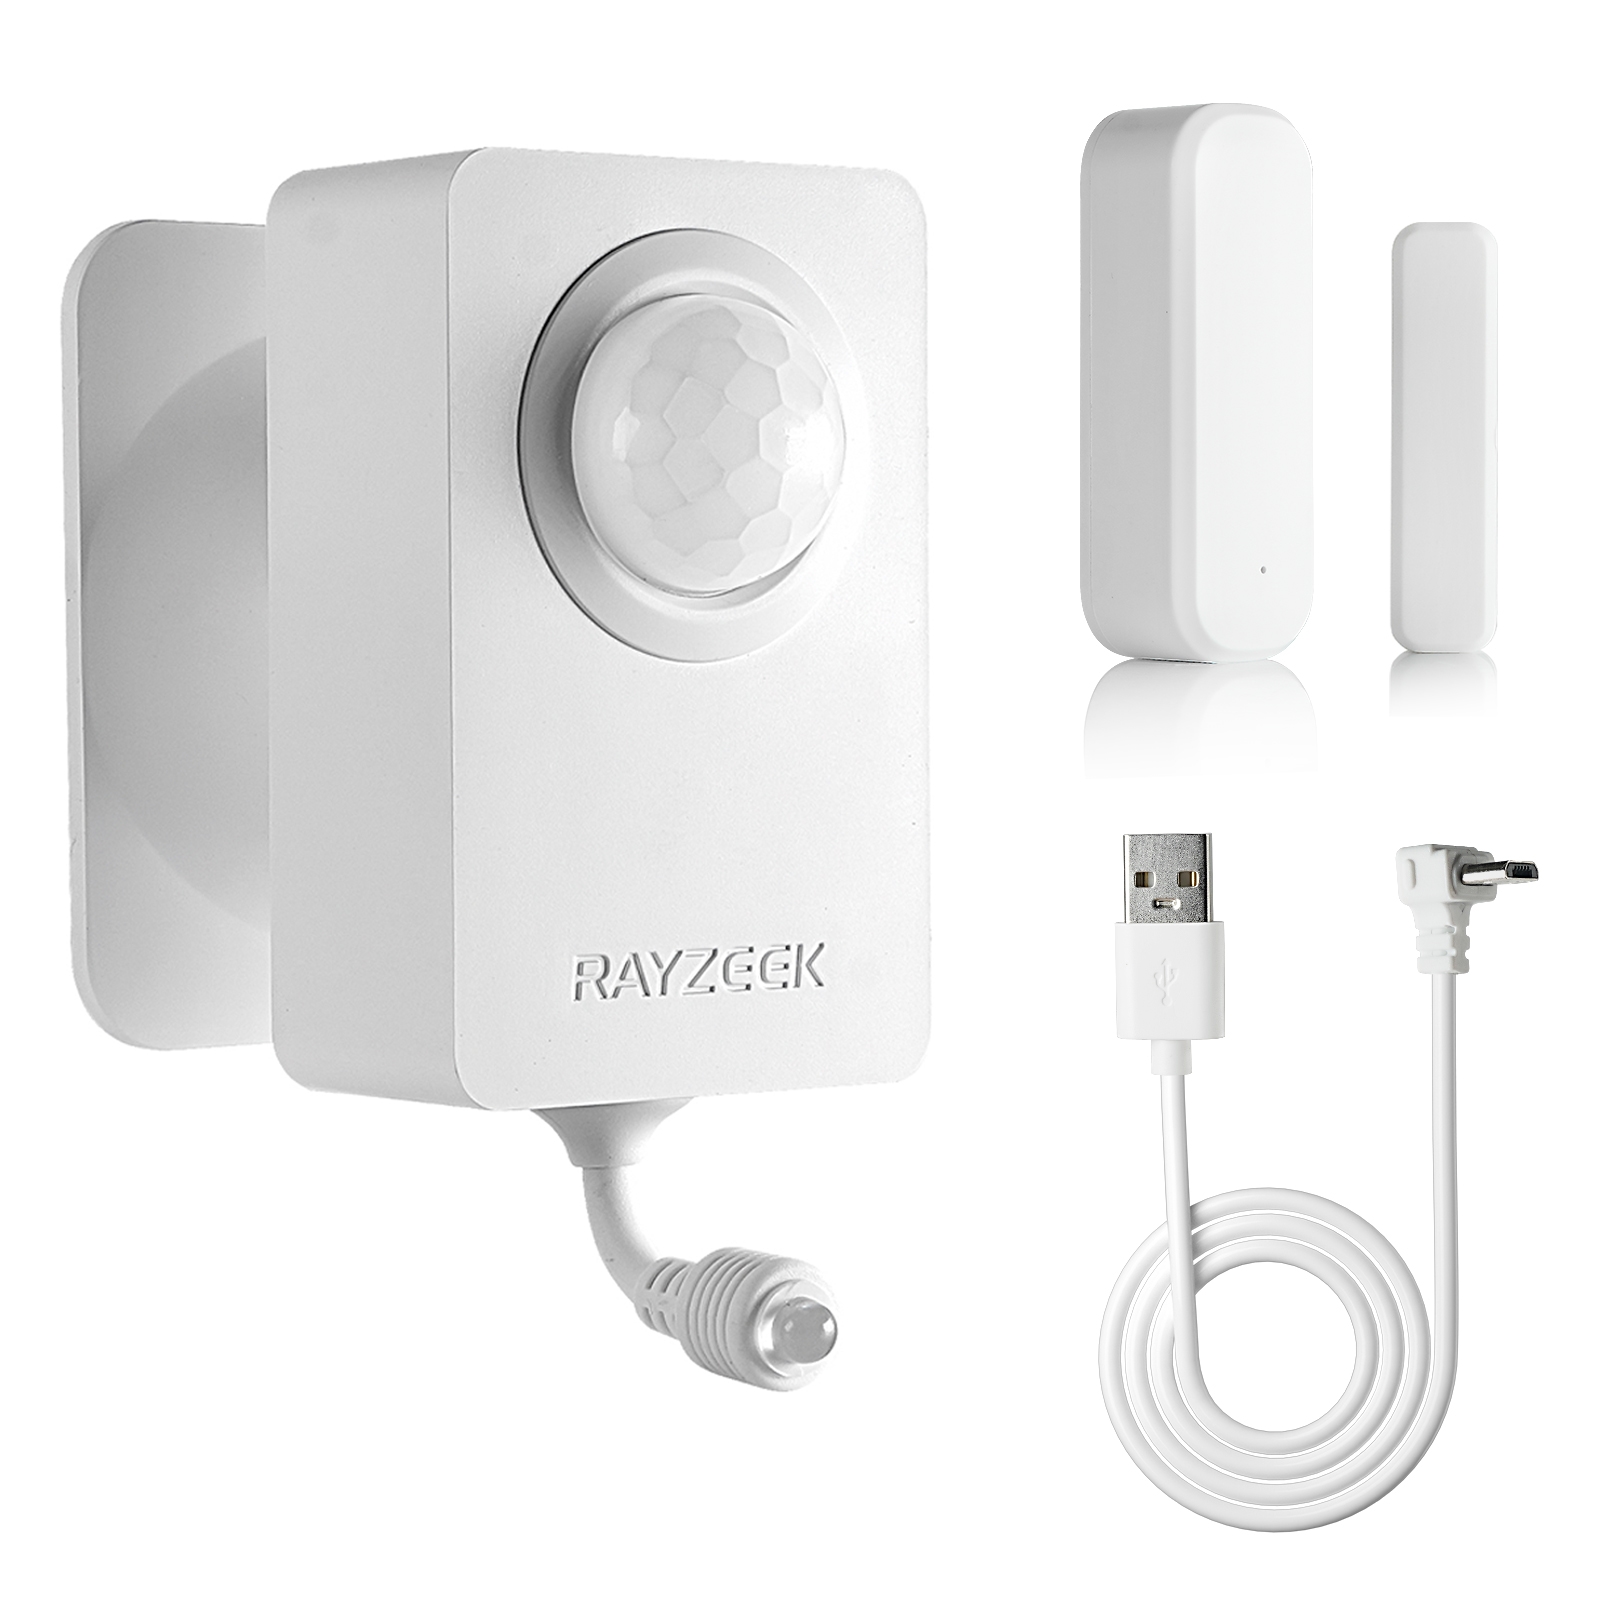
- Wireless motion sensor
- Hardwired control

- Voltage: 2x AAA Batteries / 5V DC (Micro USB)
- Day/Night Mode
- Time delay: 15min, 30min, 1h(default), 2h

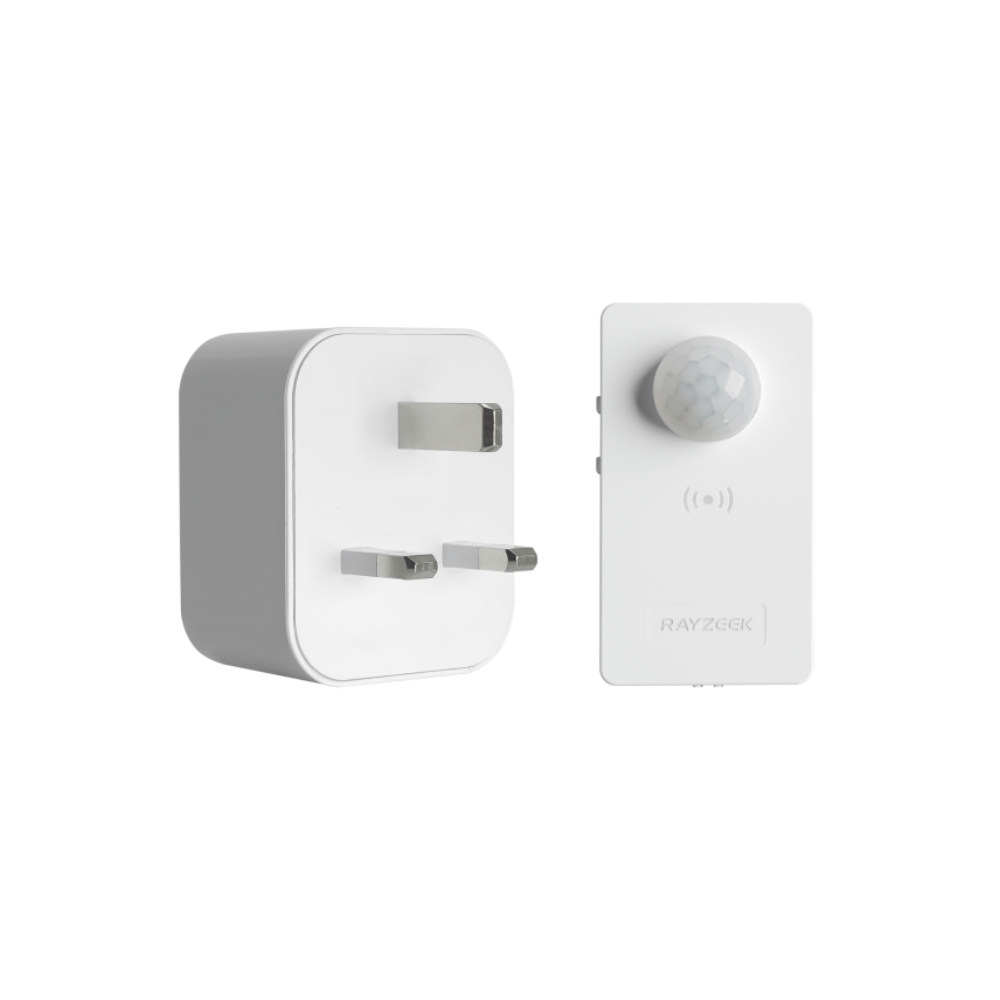
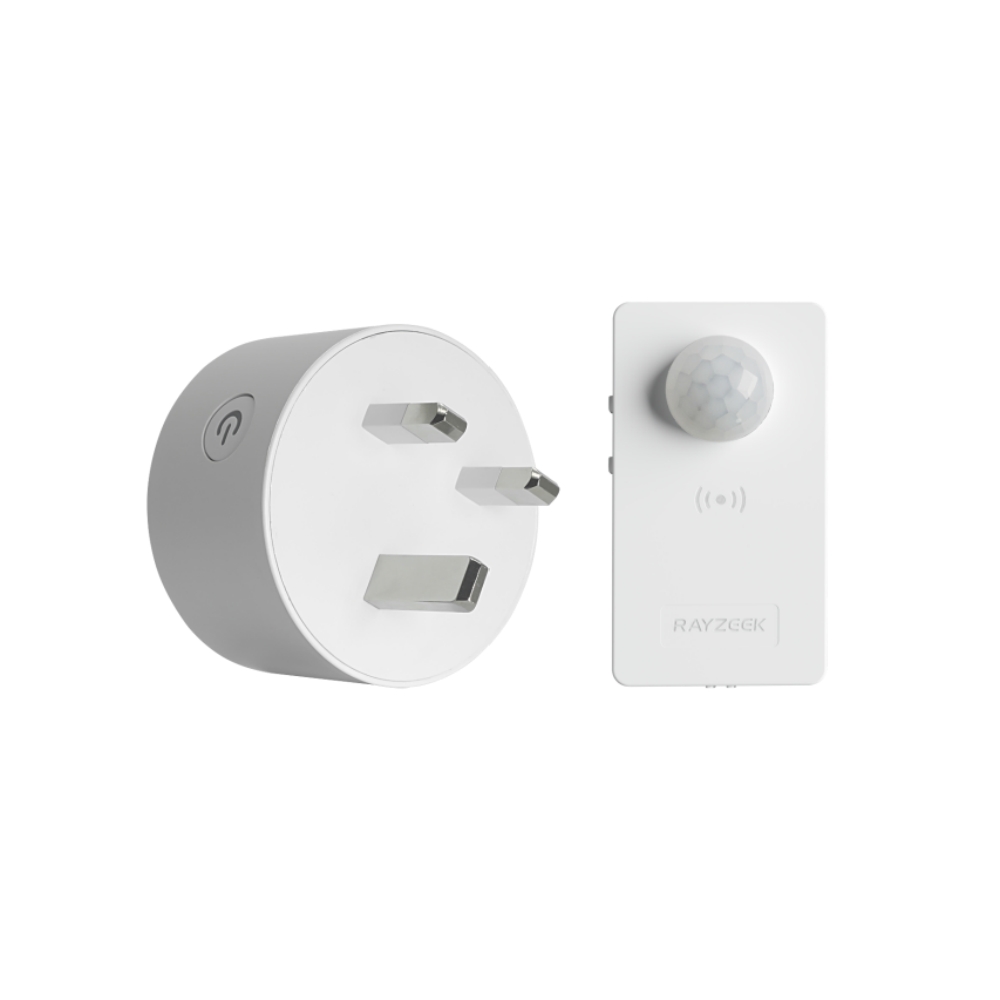
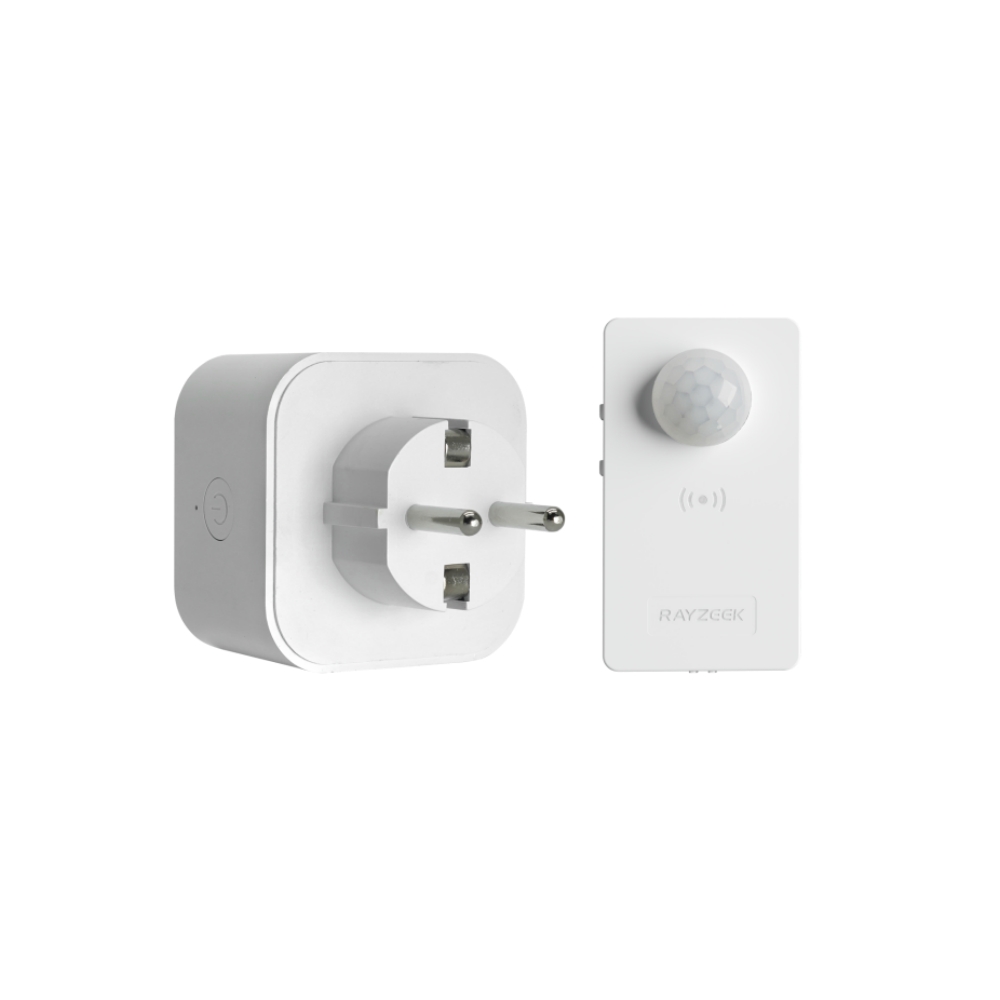
- EU plug power adapter

- UK plug power adapter

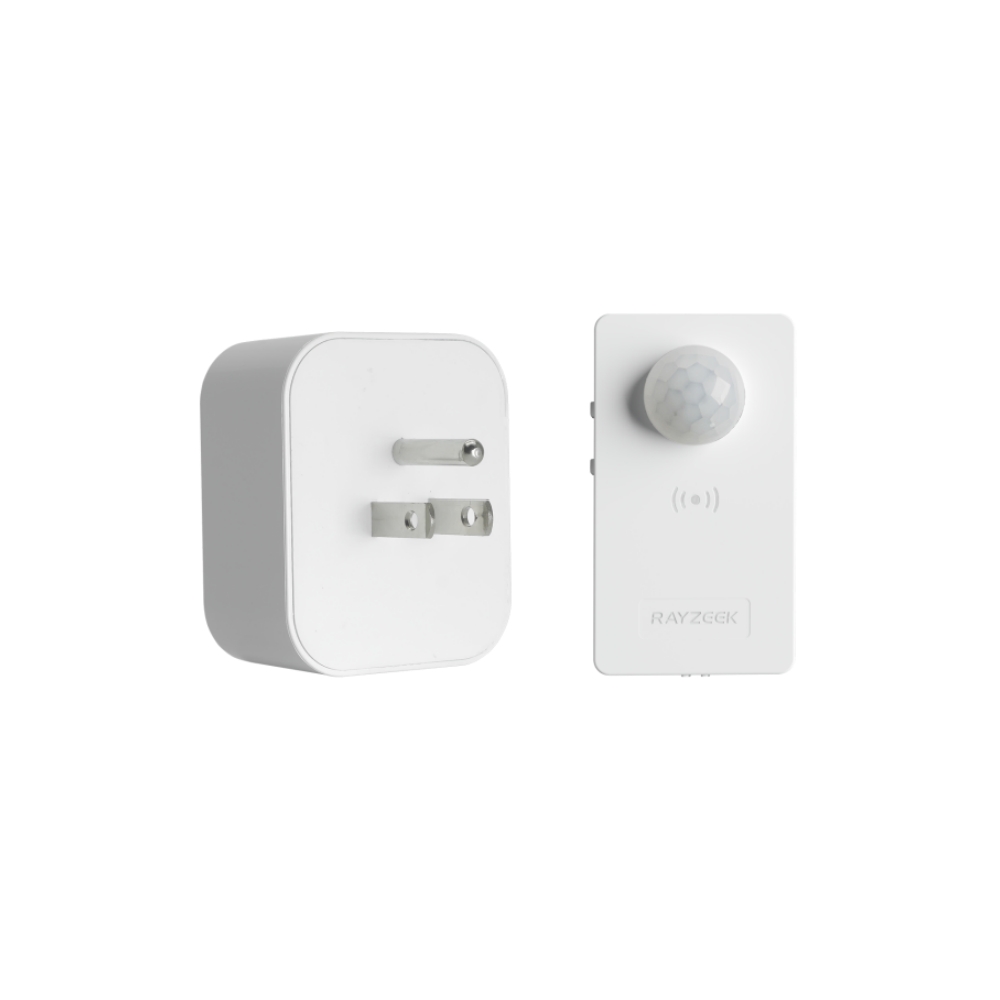
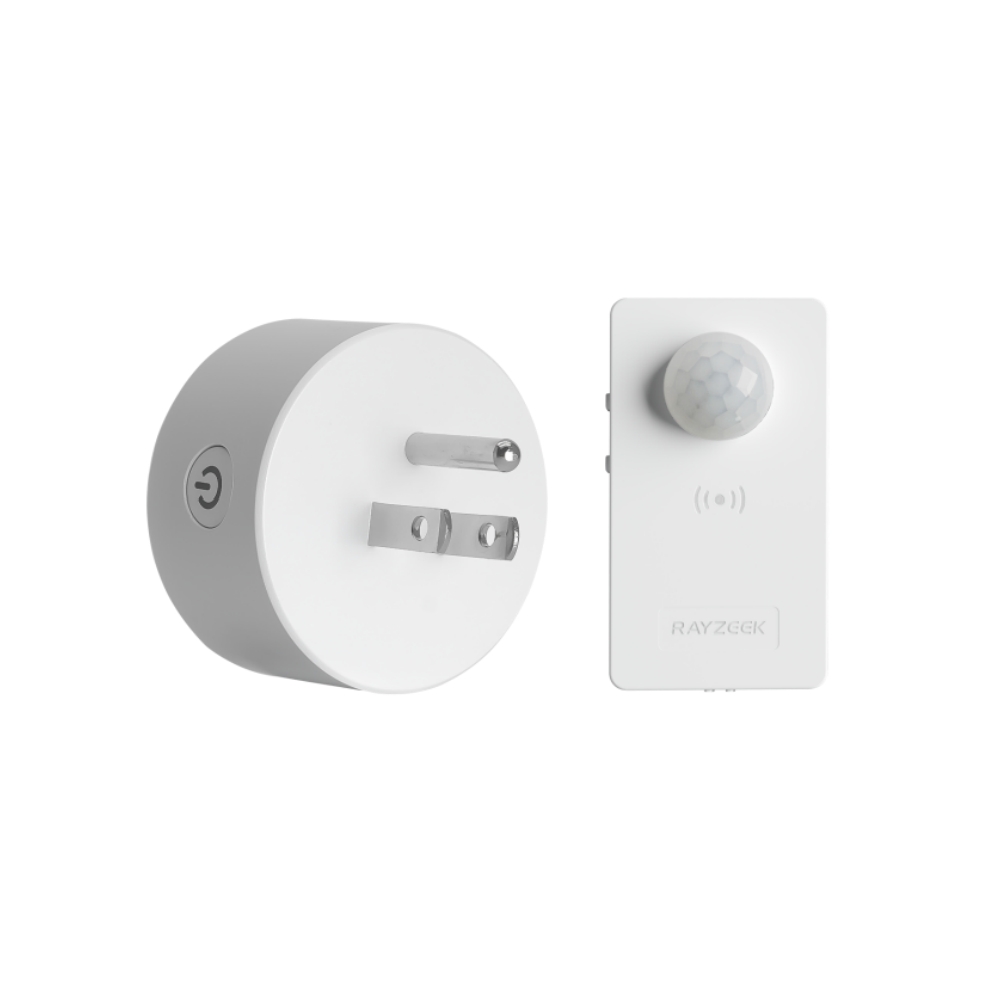
- US plug power adapter
- 5V DC
- Transmission Distance: up to 30m
- Day/Night mode
- 5V DC
- Transmission Distance: up to 30m
- Day/Night mode
- Voltage: 2 x AAA
- Transmission Distance: 30 m
- Time delay: 5s, 1m, 5m, 10m, 30m

- Load Current: 10A Max
- Auto/Sleep Mode
- Time delay: 90s, 5min, 10min, 30min, 60min
- Load Current: 10A Max
- Auto/Sleep Mode
- Time delay: 90s, 5min, 10min, 30min, 60min
- Load Current: 10A Max
- Auto/Sleep Mode
- Time delay: 90s, 5min, 10min, 30min, 60min
- Load Current: 10A Max
- Auto/Sleep Mode
- Time delay: 90s, 5min, 10min, 30min, 60min
- Load Current: 10A Max
- Auto/Sleep Mode
- Time delay: 90s, 5min, 10min, 30min, 60min
- Load Current: 10A Max
- Auto/Sleep Mode
- Time delay: 90s, 5min, 10min, 30min, 60min

- Occupancy mode
- 100V ~ 265V, 5A
- Neutral Wire Required
- 1600 sq ft
- Voltage: DC 12v/24v
- Mode: Auto/ON/OFF
- Time Delay: 15s~900s
- Dimming: 20%~100%
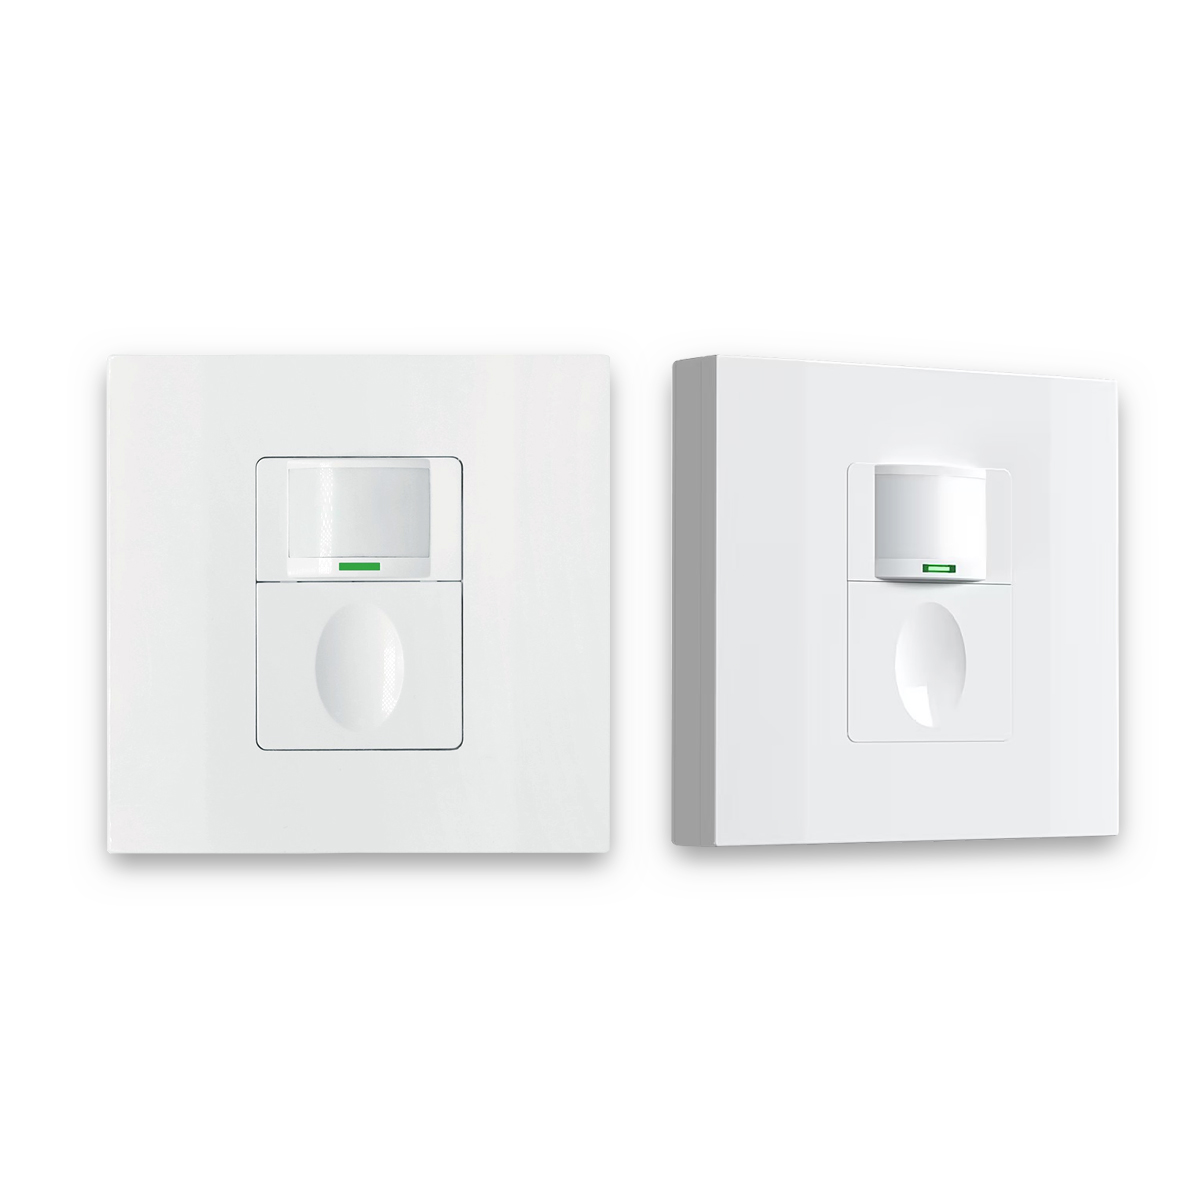
- Occupancy, Vacancy, ON/OFF mode
- 100~265V, 5A
- Neutral Wire Required
- Fits the UK Square backbox
New construction and major renovations almost always require full energy code compliance. If you’re building out a new office suite, adding partition walls, and installing new lighting, the automatic control requirement will apply to enclosed spaces.
Retrofit projects face a different threshold. If a business is simply replacing existing light fixtures in an older building without changing the layout or adding circuits, the requirement may not be triggered. The threshold varies by jurisdiction; some codes apply the rule when a certain percentage of lighting is altered, while others apply it whenever new control devices are installed. If your project involves new switches or circuits, the inspector will expect them to meet current standards.
In practice, this means a tenant improvement, a change of use involving new partitions, or an upgrade that includes a lighting redesign will almost certainly require compliance. A simple fixture swap-out may not. When in doubt, the local building department can clarify before design begins.
How Simple Sensors Satisfy the Standard
The term “automatic lighting control” can suggest programmable panels and network integration, but the code is agnostic about system architecture. It only cares that the light responds automatically to occupancy.

A basic occupancy sensor does this directly. It detects motion, determines the space is occupied, and keeps the light on. When motion ceases for a set time, the sensor concludes the space is vacant and turns the light off. The sequence is automatic and self-contained.
An inspector verifies this simple logic. They will walk into a room to trigger the light, then stand still or leave to watch it turn off. They are not testing for network connectivity or software sophistication; they are testing for an automatic response to occupancy. A stand-alone sensor wired to a local fixture provides exactly that.
The elegance of this approach is its directness. There is no programming, software commissioning, or panel maintenance. The sensor’s internal logic handles the decision. If the time delay or sensitivity needs adjustment, the settings are on the device itself, usually as small dials or DIP switches. This simplicity is not a compromise—it is compliance at its most reliable.
Occupancy vs. Vacancy Sensors

The distinction between an occupancy and a vacancy sensor is functional, and the choice affects both compliance and user experience.
An occupancy sensor is fully automatic. It turns the light on when it detects motion and turns it off after a period of vacancy. When someone walks into a dark storage room with their hands full, the light activates automatically. This is convenient and ensures the light is never left on by mistake.
A vacancy sensor provides the same automatic shutoff but requires manual activation. The occupant must turn the light on with a wall switch. Once on, the sensor monitors for motion and turns the light off automatically when the space is empty. The user controls the “on,” the sensor controls the “off.”
Both types satisfy energy codes because both provide the required automatic shutoff. The choice often comes down to user preference. A vacancy sensor is often preferred in private offices, as someone might enter during the day and not want the overhead light to turn on immediately. An occupancy sensor is a better fit for storage rooms or restrooms, where hands-free, touchless operation is valued.
Some local codes may have a preference. California’s Title 24, for instance, has historically favored manual-on controls in certain spaces to prevent unnecessary activation. Check your local code to clarify if a preference exists.
Looking For Motion-Activated Energy-Saving Solutions?
Contact us for complete PIR motion sensors, motion-activated energy-saving products, motion sensor switches, and Occupancy/Vacancy commercial solutions.
Room-by-Room Application Strategy
Applying these controls in a small business typically involves three common space types.
Private Offices
Codes almost universally require automatic shutoff in enclosed offices, often for spaces as small as 100 square feet.
The best solution is usually a vacancy sensor. The occupant turns the light on upon arrival, and the sensor turns it off if they step out for a long meeting and forget. This respects the user’s control while capturing energy savings from unplanned absences. A wall-switch sensor is a straightforward retrofit. For rooms with partitions that might block the view, a ceiling-mounted sensor offers better coverage. The key is ensuring the sensor can detect motion throughout the space, especially at the desk where an occupant might sit still for long periods.
Storage Rooms and Utility Spaces

Storage rooms, janitorial closets, and mechanical rooms are entered briefly and intermittently, often by people with their hands full.
An occupancy sensor is the logical choice. Auto-on provides immediate light, and auto-off ensures it’s never left on by accident. This is one of the highest-return applications for energy savings. A ceiling-mounted sensor often provides the best coverage around shelving and equipment. The time delay can be set shorter here—5 to 15 minutes—to maximize savings.
Restrooms and Break Rooms
Restrooms and break rooms are semi-public spaces where lights are frequently left on, leading to significant waste.
An occupancy sensor is preferred in restrooms for hygiene and convenience. In multi-stall restrooms, a dual-technology sensor (combining infrared and ultrasonic detection) is ideal for reducing the risk of the lights turning off on a stationary occupant.
Get Inspired by Rayzeek Motion Sensor Portfolios.
Doesn't find what you want? Don't worry. There are always alternate ways to solve your problems. Maybe one of our portfolios can help.
Break rooms can use either sensor type. If the room has windows and good daylight, a vacancy sensor allows occupants to leave the lights off. If it’s an interior space or automatic operation is preferred, an occupancy sensor works well. In either space, be sure to account for obstructions like partitions and furniture that can create blind spots for the sensor.
The Minimal Documentation for Inspectors
Passing an inspection requires demonstrating compliance through documentation. For stand-alone sensors, this burden is light. The inspector needs to confirm three things: that automatic controls are specified, installed where required, and function correctly.
- Control Device Schedules: The electrical plan submitted for your permit should include a legend or note identifying the control device for each space (e.g., “Vacancy Sensor,” “Occupancy Sensor”). A simple table listing each room and its control type is often sufficient.
- Sequence of Operations: For more formal submittals, a brief narrative can be included: “Occupancy sensor detects motion and energizes lighting. Upon vacancy for 20 minutes, sensor de-energizes lighting.” This is rarely needed for simple projects.
- Product Data Sheets: Some jurisdictions require the manufacturer’s cut sheets for the specified sensors. These show the device’s features, coverage pattern, and compliance with standards. The inspector may verify that the installed model matches the submitted data.
- On-site Labeling: A wall-mounted sensor is self-evident, but a ceiling sensor might need a small label on the corresponding light switch so future occupants understand how it works.
Consistency is key. The documentation must match the field installation, and both must meet the code.
Common Installation Pitfalls

Even with the right sensor, common installation errors can lead to a failed inspection.
- Inadequate Coverage: The sensor’s field of view doesn’t cover the whole room, creating blind spots where an occupant goes undetected. Review the manufacturer’s coverage diagram before choosing a mounting location.
- Incorrect Time Delay: The delay is set too short, causing nuisance shutoffs, or too long, negating savings and potentially failing inspection. Most codes allow a range, typically 20-30 minutes.
- Missing Manual Override: Some codes require a physical switch that allows the user to turn the light off at any time. If this is required and not installed, the system fails.
- Poor Sensor Placement: A passive infrared sensor is mounted where it’s triggered by an HVAC vent or sunlight, causing false-on events. Or, its view is blocked by new furniture, causing false-off events. Placement must account for the room’s conditions and the sensor’s technology.
- Failure to Demonstrate Functionality: On inspection day, the sensor doesn’t work because it isn’t powered or was left in a test mode. Always perform a simple walk-test before the inspector arrives to confirm it operates as intended.
Avoiding these pitfalls comes down to careful design, reading the manufacturer’s instructions, and verifying the installation before the final walkthrough. For a small project, this is a simple check by the electrician. For a larger one, a pre-inspection walkthrough can catch these issues before they become official deficiencies.