It’s a familiar moment of discovery for anyone upgrading an older home. The old light switch comes off the wall, and behind it are just two wires: a black and a white, or maybe two blacks. There is no bundle of neutral wires tucked in the back of the box, no third conductor to provide the return path that nearly every modern motion sensor switch demands.

This two-wire reality is a hard stop for most smart lighting projects. Without a neutral wire in the switch box, standard occupancy sensors and motion-activated dimmers simply won’t work. The electronics inside these devices need continuous power, and without a neutral, that circuit can’t close. The wall box is effectively stuck in an earlier era of electrical design, incompatible with the convenience of automated lighting.
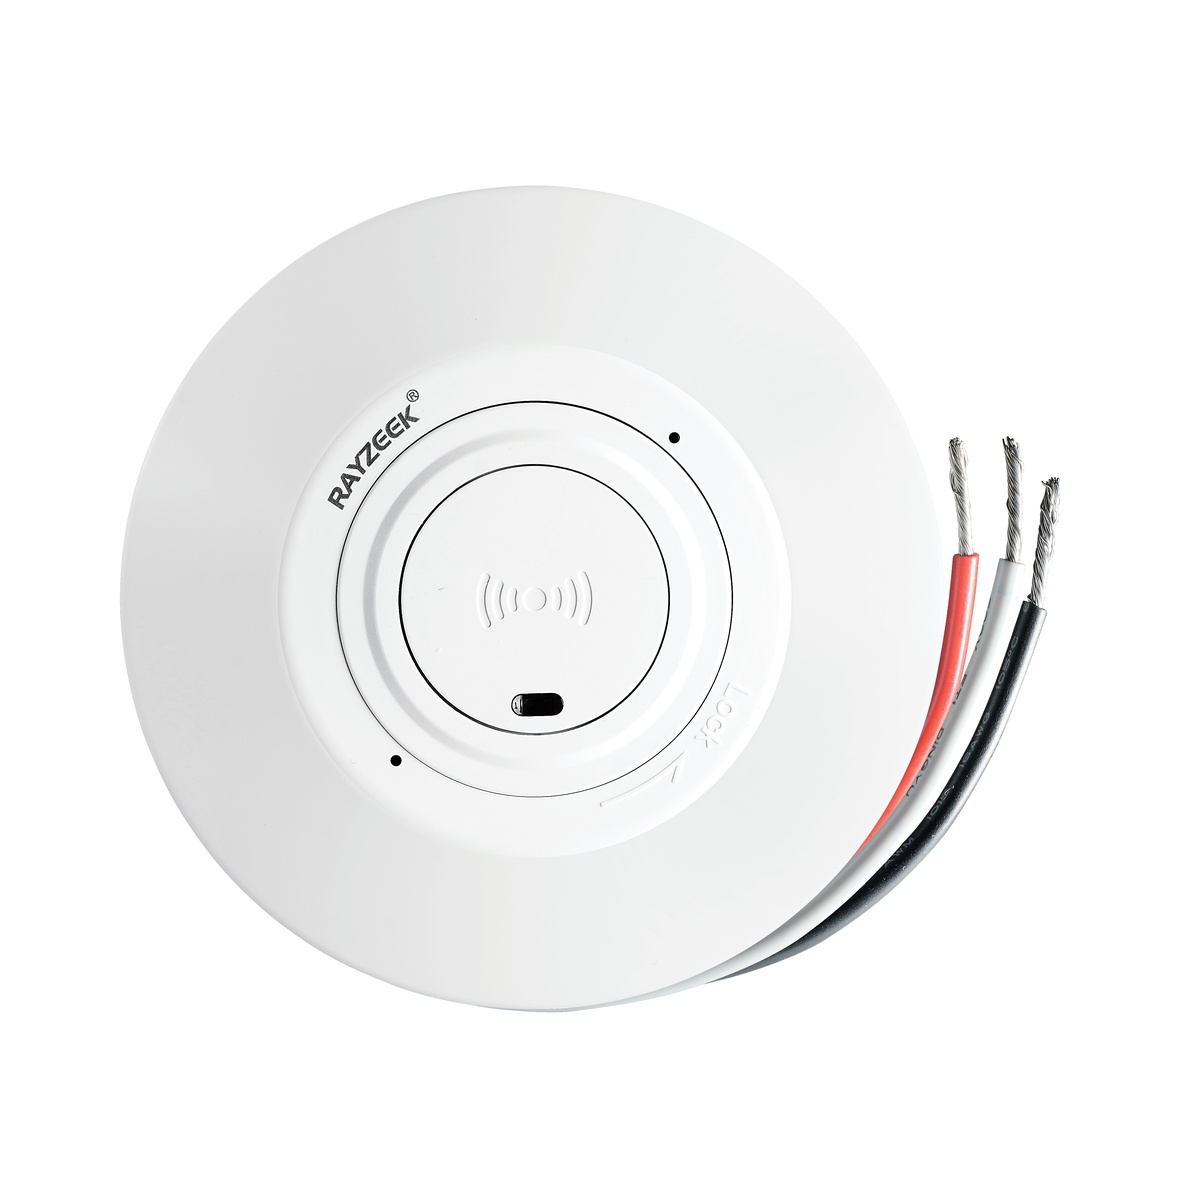
But the constraint isn’t absolute. A specific class of motion sensor switches, including several Rayzeek models, is engineered to operate in these two-wire configurations. They solve the neutral problem by using the light fixture itself as an alternative return path, but this solution introduces new variables. Suddenly, load type, minimum wattage, and dimmer compatibility shift from minor details to critical design constraints. This guide explains the principles that make no-neutral operation possible, identifies the Rayzeek switches that work in these setups, and tackles the edge cases, including the frustrating LED flicker that can plague low-wattage circuits.
Why a Neutral Wire is Standard for Smart Switches
A neutral wire isn’t a luxury in modern electrical design; it’s the foundation that allows a smart device to stay powered even when the light it controls is off. To understand why, you have to look at what a motion sensor is doing when it appears to be idle.
The Power-Hungry Brains of a Smart Switch
Unlike a simple mechanical toggle, a motion sensor switch is an active electronic system. It contains a microcontroller processing input from an infrared or microwave sensor, timing circuits that dictate how long the light stays on, and often wireless radios for smart home integration. All of these components require a constant, low-level supply of power.
In a standard three-wire installation, the switch gets constant power by tapping into the hot wire and sending a return current through the dedicated neutral wire. This creates a small, parallel circuit just for the switch’s electronics. A separate switched hot wire delivers power to the light fixture only when needed. The neutral wire makes this dual-path architecture possible.
Without a neutral, the only available path back to the electrical panel is through the light fixture itself. In an old two-wire system, turning the light off breaks the entire loop, cutting power to the switch along with the bulb. An electronic sensor in this setup would go dark the moment it did its job, erasing its memory and becoming inoperable.
The Two-Wire Legacy in Older Homes
Through the mid-20th century, the two-wire switch loop was the standard for residential wiring in North America. Electrical codes didn’t require a neutral in the switch box because switches were purely mechanical and consumed no power. The neutral conductor ran directly to the light fixture, where it was needed to complete the circuit for the bulb.
This design was perfectly adequate for decades. It only became a roadblock with the rise of electronic controls. Recognizing this trend, the National Electrical Code (NEC) was updated in 2011 to require a neutral in most new switch boxes. Homes built before this change, however, represent a massive portion of the housing stock, and retrofitting them means dealing with the two-wire limitation.
This is a structural problem. Adding a neutral to an existing circuit means running new cable from the switch box to the light fixture or back to the panel, a job that often involves opening walls. For most homeowners, the cost and disruption make rewiring impractical. The real question is whether a reliable motion sensor can be installed using the wires already in the wall.
The Trick: How No-Neutral Switches Stay Powered

The engineering solution is elegant: a no-neutral switch establishes a return path for its own operating current by letting a tiny amount of electricity “leak” through the light fixture. This leakage current is just enough to power the switch’s electronics but too low to make the bulb light up.
The switch contains a high-impedance circuit that allows a minuscule current to flow from the hot terminal, through its internal power supply, out to the connected light fixture, and finally back to the panel via the neutral at the fixture. From the switch’s perspective, it’s always on. For an incandescent or halogen bulb, this current is so small that it can’t heat the filament enough to produce visible light.
Maybe You Are Interested In

- Ceiling-mounted PIR occupancy sensor with dry-contact relay output
- 12/24VDC or 12/24VAC low-voltage supply
- COM, NO, and NC isolated relay contacts for EMS, HVAC, and building control inputs
- Low-voltage DC recessed ceiling-mounted microwave motion sensor switch
- 12 VDC / 24 VDC input with 10-30 VDC range
- 10A max work current with adjustable time delay, Lux threshold, and sensitivity
- Higher-load recessed ceiling-mounted microwave motion sensor switch
- 100-265 VAC line-voltage input, 10A model
- 5.8 GHz microwave sensing with adjustable time delay, Lux threshold, and sensitivity
- Recessed ceiling-mounted microwave motion sensor switch
- 100-265 VAC line-voltage input, 5A model
- 5.8 GHz microwave sensing with adjustable time delay, Lux threshold, and sensitivity
- Ceiling-mounted RZ037 PIR occupancy sensor dimmer for 220V power
- 3A maximum working current with 660W rated load
- LUX button controls light-sensor ON/OFF and user-set dimming brightness
- Ceiling-mounted RZ037 PIR occupancy sensor dimmer for 110V power
- 3A maximum working current with 330W rated load
- LUX button controls light-sensor ON/OFF and user-set dimming brightness
- Low-voltage DC ceiling-mounted microwave motion sensor switch
- 12 VDC / 24 VDC input with 10-30 VDC range
- 10A max work current with adjustable time delay, Lux threshold, and sensitivity
- Higher-load ceiling-mounted microwave motion sensor switch
- 100-265 VAC line-voltage input, 10A model
- 5.8 GHz microwave sensing with adjustable time delay, Lux threshold, and sensitivity
- Ceiling-mounted microwave motion sensor switch
- 100-265 VAC line-voltage input, 5A model
- 5.8 GHz microwave sensing with adjustable time delay, Lux threshold, and sensitivity
- Low-voltage DC recessed ceiling mount PIR motion sensor switch
- 12 VDC / 24 VDC input with 10-30 VDC range
- Max work current 10A with adjustable time delay, Lux threshold, and sensitivity
- Higher-load recessed ceiling mount PIR motion sensor switch
- 100-265 VAC line-voltage input, 10A model
- 360-degree detection with adjustable time delay, Lux threshold, and sensitivity
- Recessed ceiling mount PIR motion sensor switch
- 100-265 VAC line-voltage input, 5A model
- 360-degree detection with adjustable time delay, Lux threshold, and sensitivity
- Wireless switch and receiver kit for indoor ON/OFF lighting control
- 100-230VAC, 50/60Hz receiver with 5A rated current
- CR2032-powered wireless switch with 2.4GHz communication
- Occupancy (Auto-ON/Auto-OFF)
- 12–24V DC (10–30VDC), up to 10A
- 360° coverage, 8–12 m diameter
- Time delay 15 s–30 min
- Light sensor Off/15/25/35 Lux
- High/Low sensitivity
- Auto-ON/Auto-OFF occupancy mode
- 100–265V AC, 10A (neutral required)
- 360° coverage; 8–12 m detection diameter
- Time delay 15 s–30 min; Lux OFF/15/25/35; Sensitivity High/Low
- Auto-ON/Auto-OFF occupancy mode
- 100–265V AC, 5A (neutral required)
- 360° coverage; 8–12 m detection diameter
- Time delay 15 s–30 min; Lux OFF/15/25/35; Sensitivity High/Low

- 100V-230VAC
- Transmission Distance: up to 20m
- Wireless motion sensor
- Hardwired control

- Voltage: 2x AAA Batteries / 5V DC (Micro USB)
- Day/Night Mode
- Time delay: 15min, 30min, 1h(default), 2h

- EU plug power adapter

- UK plug power adapter
This design has a critical consequence: the load is no longer just a passive device being controlled, but an active part of the switch’s power circuit. The switch is no longer load-agnostic. Its ability to function depends entirely on the electrical properties of the connected light fixture. This dependency creates a minimum load requirement and makes the system highly sensitive to the type of load.
A traditional incandescent bulb is a simple resistor; it handles the leakage current perfectly. But modern LED and CFL bulbs are different. They contain complex electronic drivers that can react unpredictably to the small, continuous current a no-neutral switch needs to survive. This can lead to anything from stable operation to a constant, maddening flicker.
Load Compatibility: The Key to Two-Wire Success
When using a no-neutral switch, the connected load isn’t just a light bulb—it’s a component in the switch’s own power supply. Its electrical behavior will determine if the system works.
Incandescent and Halogen: The Easy Match
Incandescent and halogen bulbs are simple resistive loads, making them forgiving partners for no-neutral switches. The leakage current flows through the filament without producing light, and the bulb operates normally when the switch is fully on. These bulbs also tend to have higher wattages (e.g., 60 watts or more), which provides a robust and stable path for the switch’s power supply. If you’re still using traditional bulbs, a no-neutral switch is typically a straightforward installation. The only challenge is the declining availability of these bulbs.
LED and CFL: The Complicated Relationship
LED and CFL bulbs introduce electronic drivers into the circuit. An LED driver rectifies AC voltage, regulates current, and uses capacitors for smoothing. When a small leakage current flows through this driver, the capacitors can slowly charge up. Once the charge hits the driver’s turn-on threshold, the LED flashes briefly. This is the source of the infamous flicker problem.

Compatibility hinges on total wattage and driver design. No-neutral switches specify a minimum load, often between 25 and 40 watts for LEDs. Below this, the leakage current can’t find a stable path, or the driver behaves erratically. A single 9-watt LED bulb is almost guaranteed to cause problems. A fixture with four 10-watt LEDs, totaling 40 watts, is far more likely to work.
This minimum wattage threshold isn’t a suggestion; it’s a hard electrical requirement. Falling below it can cause the switch to fail, the LEDs to flicker, or both.
Looking For Motion-Activated Energy-Saving Solutions?
Contact us for complete PIR motion sensors, motion-activated energy-saving products, motion sensor switches, and Occupancy/Vacancy commercial solutions.
In marginal cases, a bypass capacitor installed in parallel with the load at the fixture can solve the problem. This small component gives the leakage current an alternative path, preventing it from charging the LED driver’s capacitors. It’s an effective workaround, but it requires access to the fixture’s wiring.
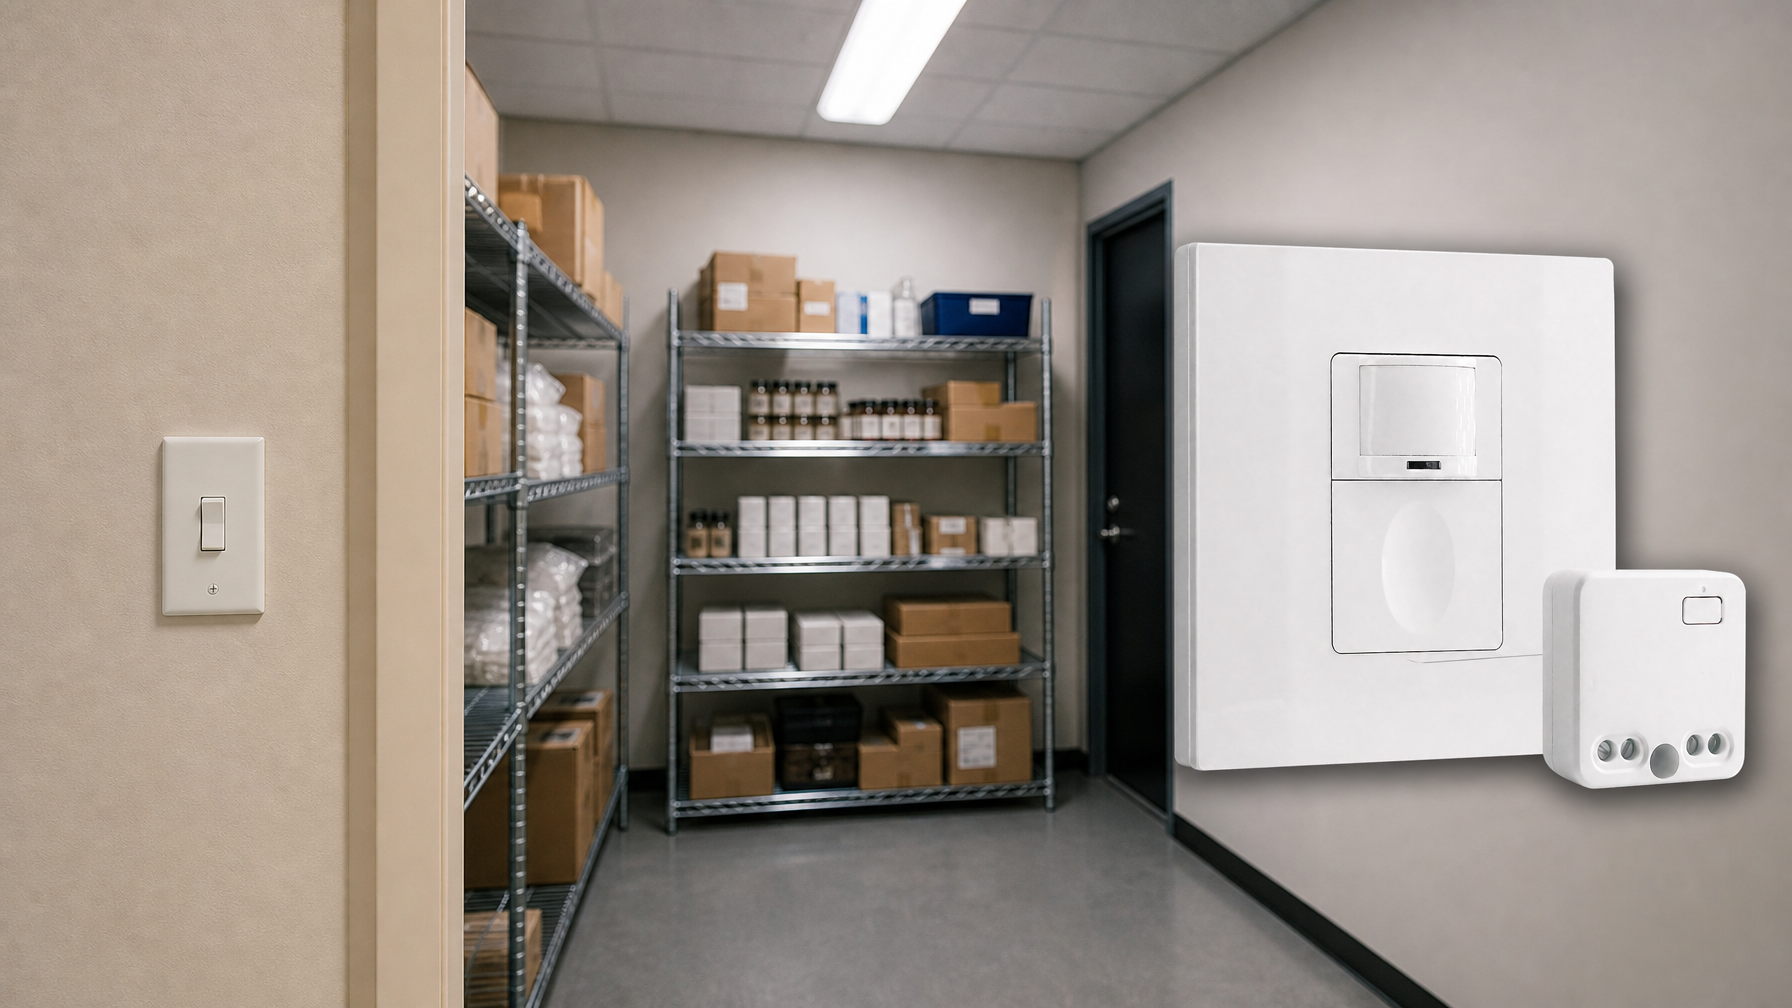
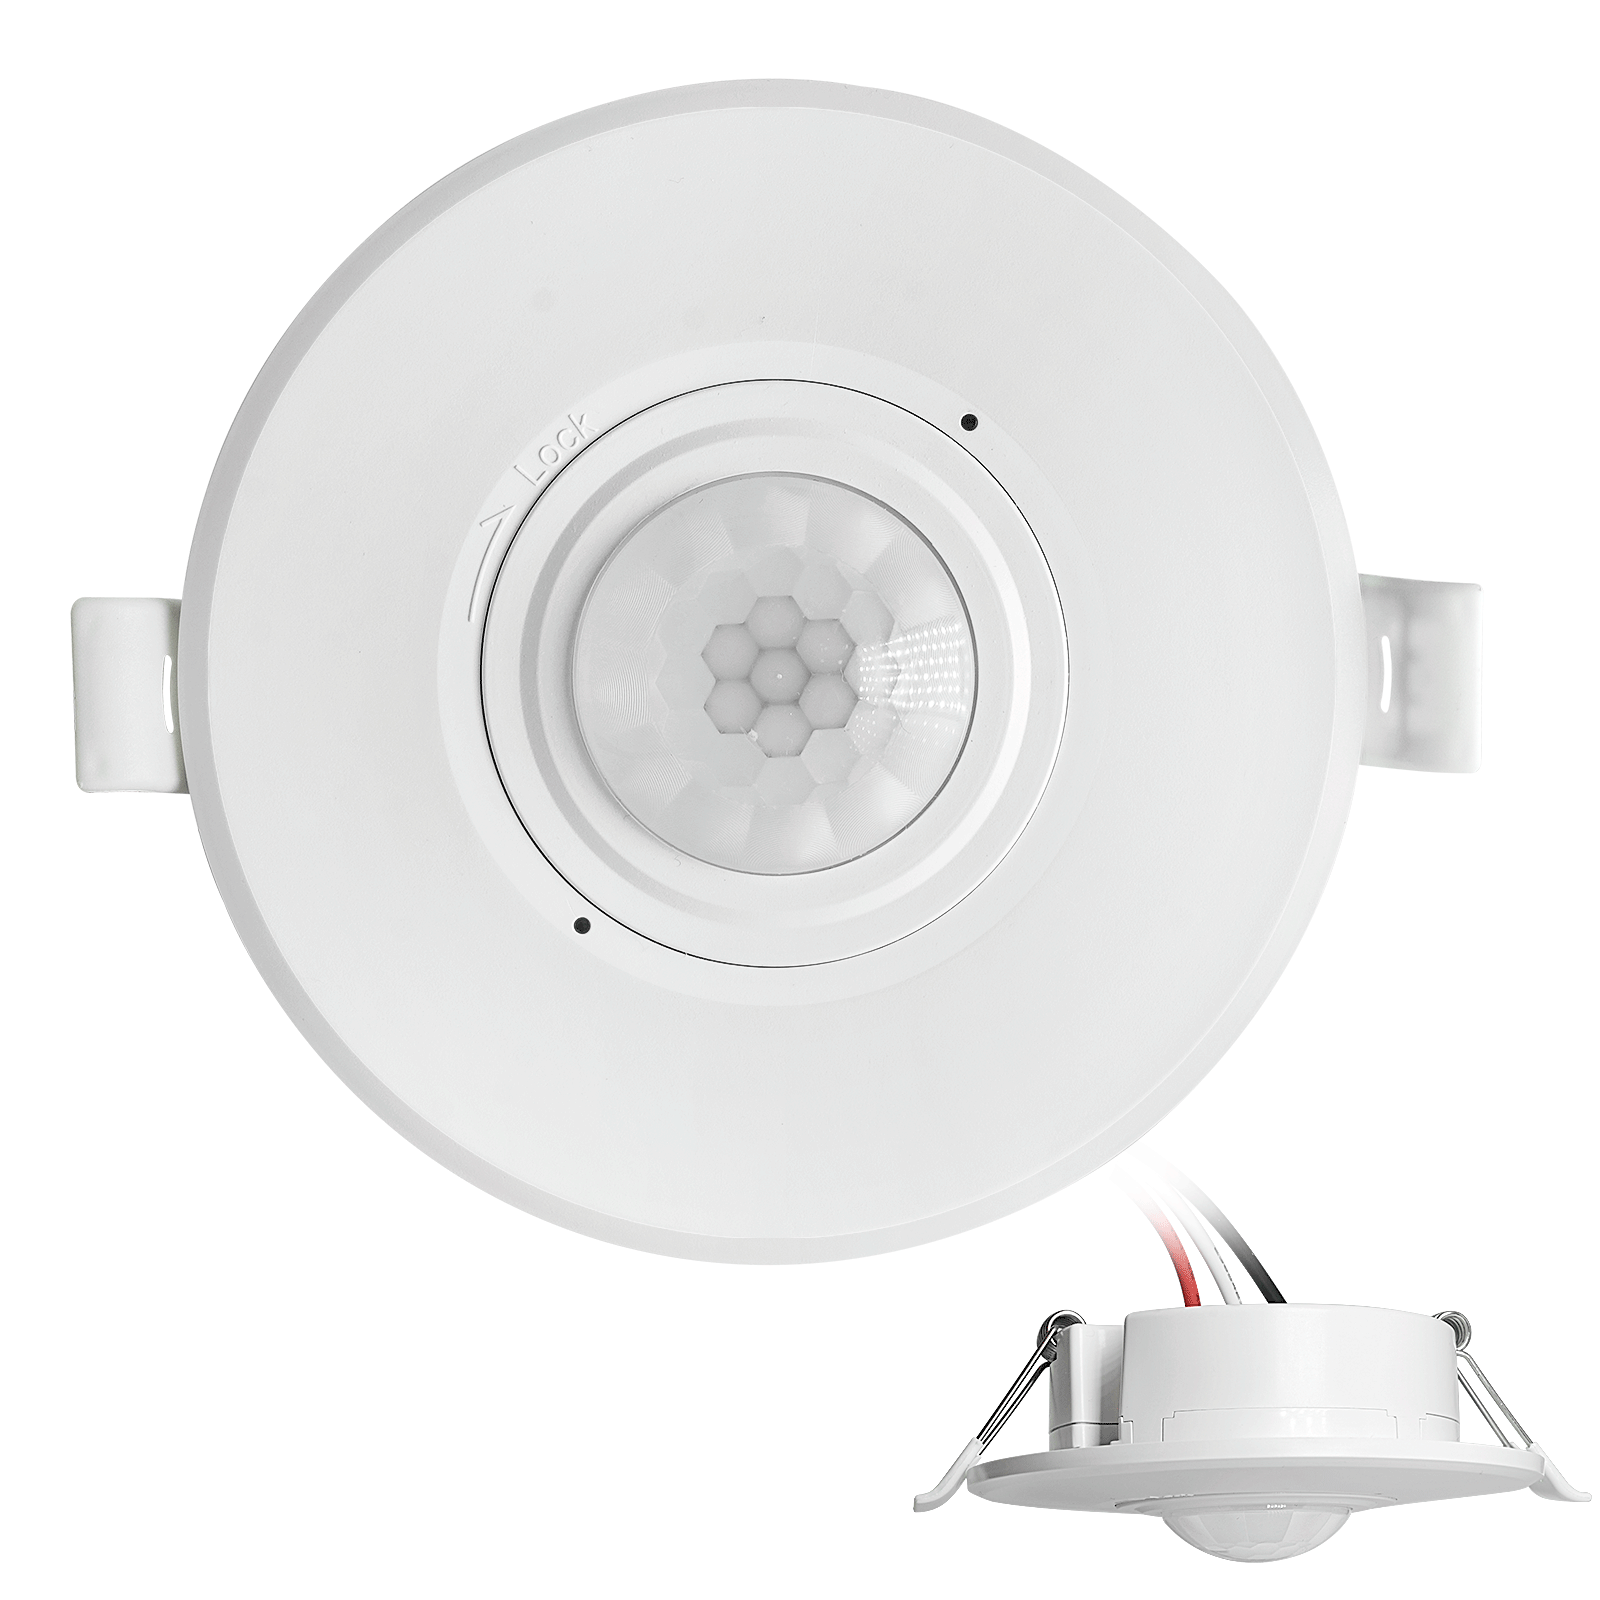
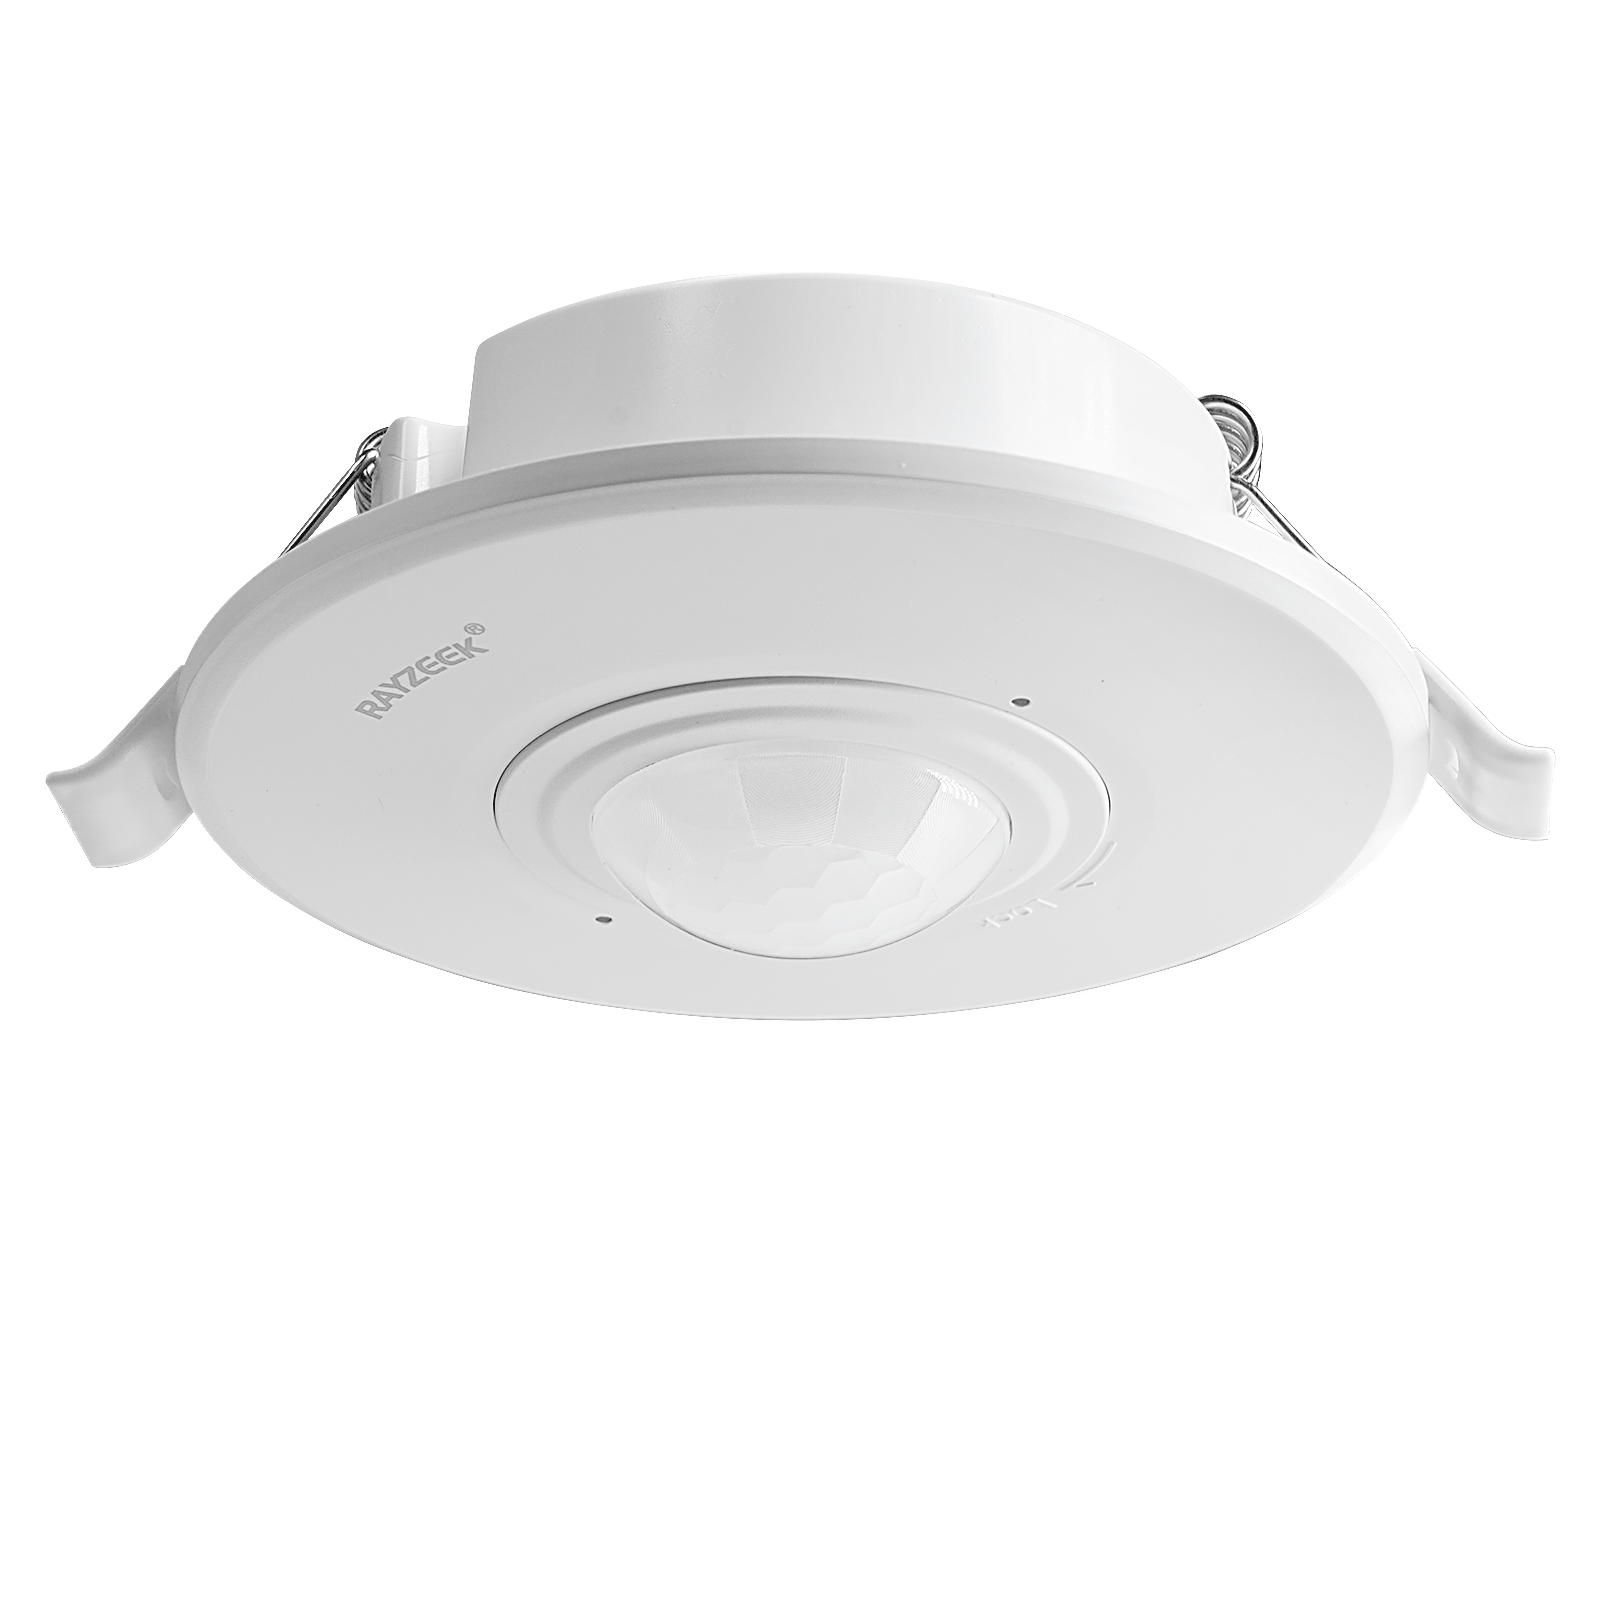
Rayzeek Switches for No-Neutral Installations
Rayzeek’s product line includes models specifically designed for two-wire boxes. They have the necessary low-power circuitry to work without a dedicated neutral.
Non-Dimming Occupancy Switches

These models are ideal for simple, motion-activated on/off control in closets, hallways, garages, and utility rooms.
- Model RZ021: Two-wire occupancy switch with a PIR sensor. Requires a 150W incandescent or 25W LED minimum load.
- Model RZ036: Two-wire occupancy switch with a dual-technology sensor. Requires a 200W incandescent or 30W LED minimum load.
For these switches, load matching is key. A common mistake is pairing them with a single low-wattage LED. A 10-watt bulb will not work with a switch that requires a 25-watt minimum. The solution is to use a multi-bulb fixture or a higher-wattage LED.
Dimmer-Compatible Models
For spaces like dining rooms or bedrooms where adjustable brightness is needed, Rayzeek offers no-neutral motion-sensing dimmers.
- Model RZ-D08: Two-wire occupancy dimmer with a PIR sensor. Requires a 150W incandescent or 40W LED minimum load.
- Model RZ-D12: Two-wire occupancy dimmer with a dual-technology sensor. Requires a 200W incandescent or 50W LED minimum load.
Dimming circuits are more demanding than simple on-off switches, which increases the minimum wattage threshold. A 40- to 50-watt LED minimum is typical. Furthermore, the LED bulbs themselves must be explicitly labeled as “dimmable.” Connecting a non-dimmable LED will result in humming, flickering, or premature failure, even if the total wattage is sufficient. When in doubt, test your chosen bulb and switch combination before committing to a full installation.
Solving the Ultra-Low-Wattage LED Flicker

When the connected LED load is too small, a visible flicker can occur even when the light is off. This isn’t a faulty switch; it’s a predictable interaction between the switch’s leakage current and the LED’s driver. The LED might flash every few seconds or glow faintly but continuously.
This happens because the leakage current is slowly charging a capacitor in the LED driver. When the voltage hits the driver’s activation point, the LED fires, drains the capacitor, and the cycle repeats. Ultra-low-wattage LEDs (5-10 watts) are the most susceptible.
There are three ways to solve this:
- Install a Bypass Capacitor: This is the most direct fix. A small capacitor wired in parallel with the load at the light fixture creates an alternate path for the leakage current, bypassing the sensitive LED driver. This requires accessing the fixture’s wiring and should be done with care.
- Increase the Load: The simplest solution is often to increase the total wattage. Replace a single 9-watt bulb with a 15-watt bulb, or add more bulbs to the circuit. Some installers even add a small incandescent bulb alongside the LEDs as a “dummy load” to stabilize the circuit.
- Match the Application to the Switch: The easiest approach is prevention. Use no-neutral switches where the load is naturally sufficient. A hallway with three recessed fixtures totaling 45 watts is a perfect candidate. A closet with a single 8-watt bulb is not.
Are No-Neutral Switches the Only Option?
These switches are a great solution for many two-wire retrofits, but it’s worth considering the alternatives.
| Approach | Complexity | Cost | Best For |
|---|---|---|---|
| No-neutral motion switch | Low to moderate | Switch cost only | Existing two-wire boxes with an adequate load |
| Add a new neutral wire | High | Material + labor | Major renovations, future-proofing, no load limits |
| Smart relay at fixture | Moderate | Module cost | Tech-savvy users with fixture access |
| Smart bulb with sensor | Very low | Bulb cost | Renters, temporary setups, no wiring changes |
Adding a neutral wire is the most robust and future-proof solution. If you’re already planning a renovation that will open up the walls, running a new three-conductor cable eliminates all load restrictions and opens up your options to any smart switch on the market.
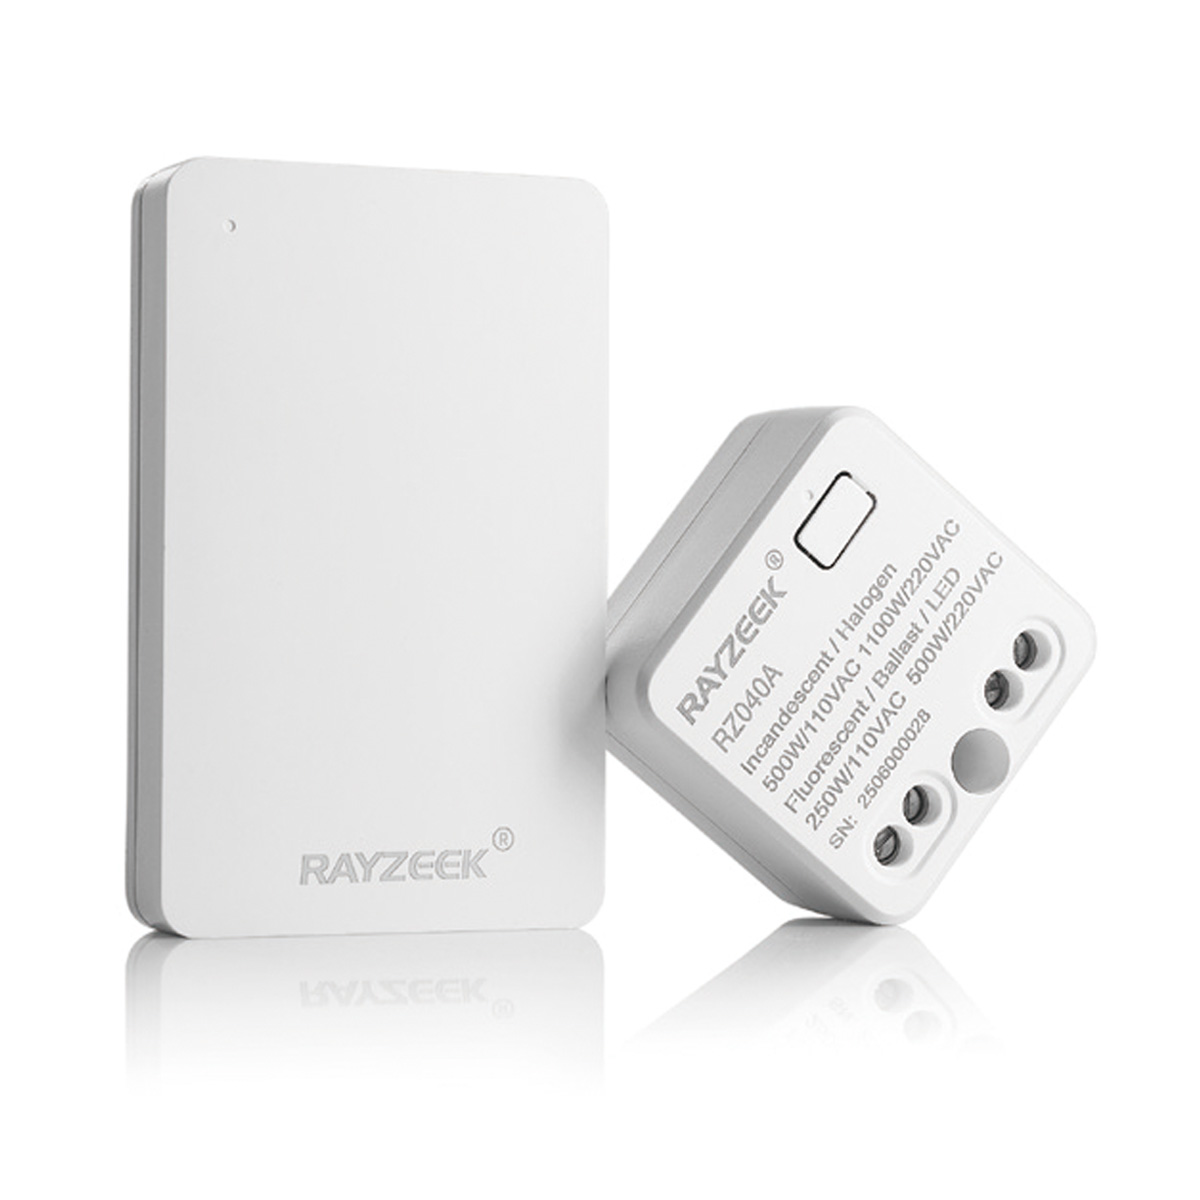
Smart relays (like those from Shelly) can be installed behind the light fixture, where a neutral is almost always available. This moves the “brains” of the system out of the switch box. It’s a powerful option for home automation enthusiasts but adds complexity and may require a separate wireless button for physical control.
Get Inspired by Rayzeek Motion Sensor Portfolios.
Doesn't find what you want? Don't worry. There are always alternate ways to solve your problems. Maybe one of our portfolios can help.
Smart bulbs with built-in motion sensors bypass the wall switch entirely. You simply screw in the bulb and leave the wall switch permanently on. This is the simplest installation possible, ideal for renters, but it breaks the intuitive habit of using a wall switch.
Installation and Safety

Installing a no-neutral switch is a manageable DIY project for someone comfortable with basic electrical work, but safety must be the top priority. Always turn off the power at the circuit breaker and use a voltage tester to confirm the circuit is dead before you begin.
Call a professional electrician if you encounter anything unexpected: unclear wiring, a three-way switch setup (where multiple switches control one light), or outdated systems like knob-and-tube or aluminum wiring. These situations require expertise beyond a simple swap.
UL-listed no-neutral switches are code-compliant, but your local jurisdiction may still require a permit or inspection for any electrical work. Always check local regulations. A safe, correct installation is non-negotiable. If you have any doubts, the cost of a professional is a small price to pay for peace of mind.